Skip to primary navigation
Skip to main content
Skip to primary sidebar
Skip to footer
Home
Browse Recipes
Dinner
Between Bread
Breakfast for Dinner
Comfort Food
Pasta and Pizza
Quick and Easy
Savory Pies
Side Dishes
Tex-Mex
Appetizers and Snacks
Bakery
Bread and Pastry
Cake, Pies and Trifles
Cookies and Bars
Dips and Sauces
How-To and Substitutions
Recipe Index
About
About Hailey
About Gus
Kitchen Essentials
Why Cooking and Cussing?
Contact
Search
menu icon
search icon
Search
Recipe Index
About Hailey
Kitchen Essentials
Free e-Cookbook
Bloglovin
Facebook
Instagram
Pinterest
×
Home
»
Recipes
All Posts
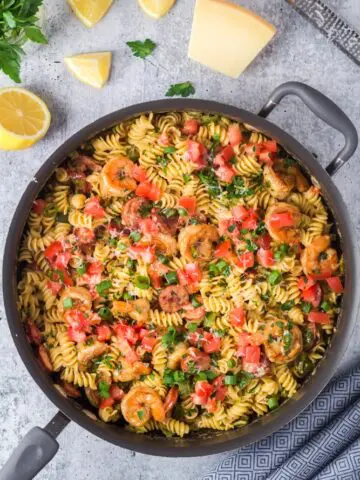
Cajun Shrimp and Sausage Pasta
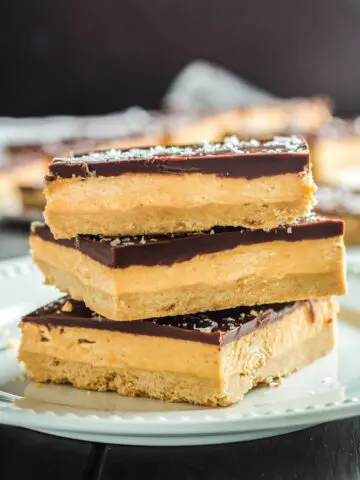
Chocolate Peanut Butter Bars
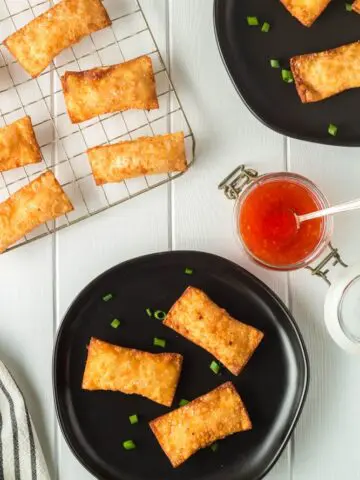
Pimento Cream Cheese Wontons
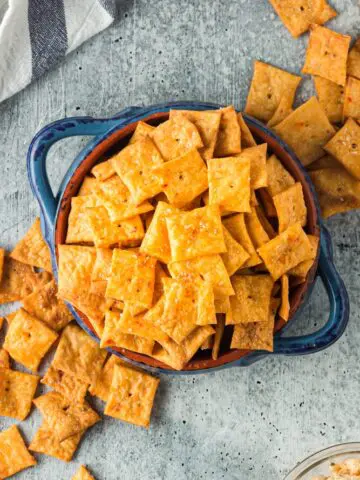
Homemade Cheez-Its Crackers
Pimento Cheeseburger Hand Pies
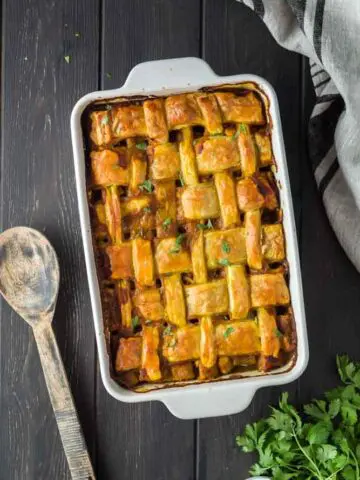
Easy Chicken Curry Pot Pie
About Hank
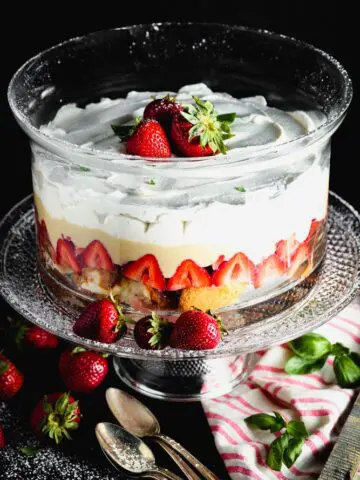
Easy Strawberry Trifle
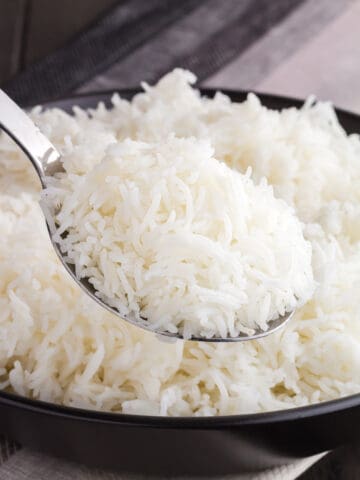
Perfect Basmati Rice
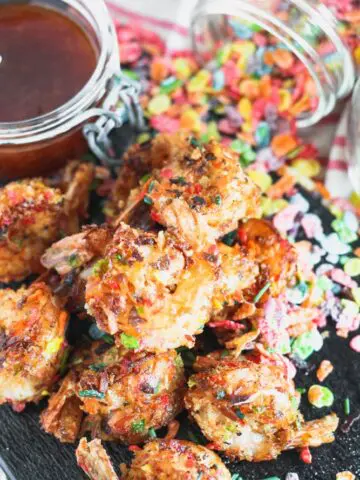
Fruity Pebble Coconut Shrimp
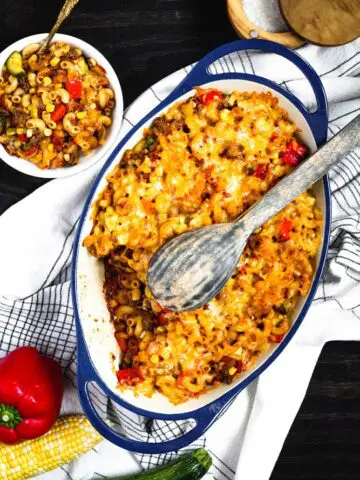
Easy Sausage Goulash
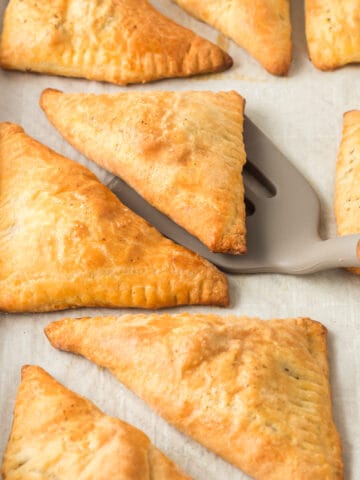
Louisiana Meat Pies
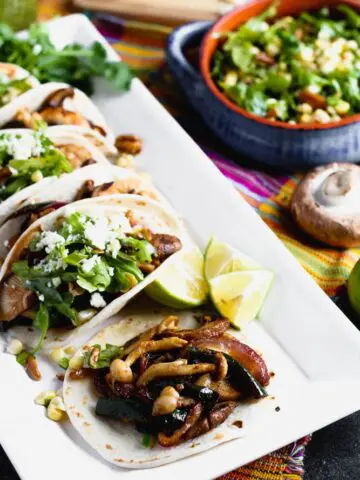
Mushroom Tacos with Pecan Arugula Salsa
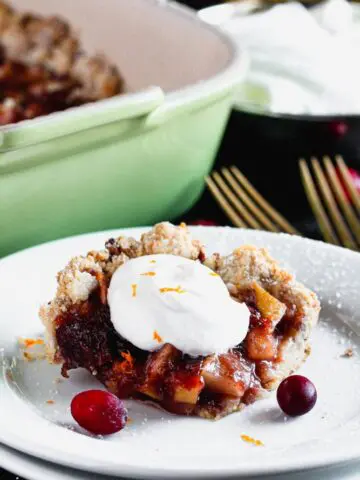
Cranberry, Apple and Pear Bars
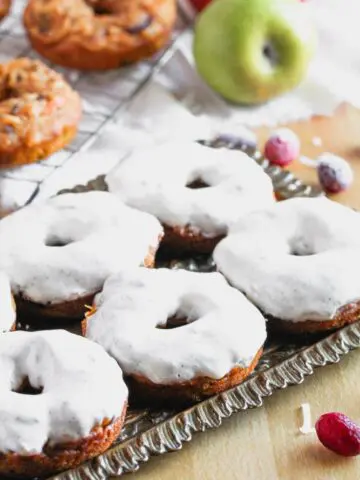
Pumpkin Cake Baked Donuts
«
Go to
Previous Page
Page
1
Page
2
Page
3
Page
4
Page
5
Interim pages omitted
…
Page
8
Go to
Next Page »