If you’re looking at a can of cranberry sauce post-Thanksgiving and thinking “what in the f*ck am I going to do with this now?”, I’ve got you covered. Cranberry, Apple and Pear Bars are mouthful of fall flavor that will help clear out some of those Thanksgiving leftovers cluttering up your kitchen after the big pachanga.
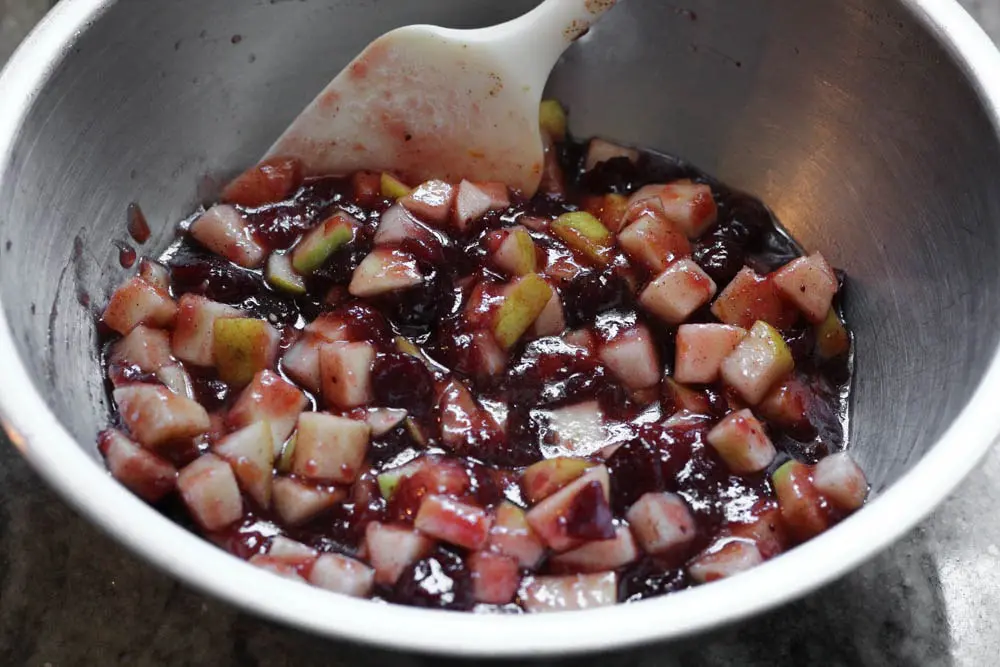
Now, if you’re already exhausted from cooking for your friends and family, fear not! This recipe can be made in a flash. For the filling, you can throw all of the ingredients into one bowl in no particular order, mix them up, and you’re on your way to cranberry wishes and shortbread dreams.
Does your family have canned cranberry sauce as part of their holiday spread? If not, this is a great reason to finally try it out because, seriously, it’s so good!
Even if you can’t get down with the idea of adding a sweet jelly to your savory Thanksgiving plate, I have no doubt the combination of tart cranberry sauce and sweet apples and pears will make perfect sense to your palate.
We are cranberry-sauce-crazy in my family. For years, someone would always try to make homemade cranberry sauce only for it to passed up by almost everyone in the family (some polite guest would take some to be kind).
We all just wanted the good ol’ canned stuff, the kind where you have to can-open both ends to push it out. That glorious “SLURP” noise as it falls of the can (similar to the noise Spam makes as it slides out of the container) means that Thanksgiving has truly begun. ? We don’t even try to disguise the can shape, just slice and serve!
I admire your tenacity if you have never eaten cranberry sauce and made it through the previous paragraph with your interest in trying this recipe still intact because I did absolutely nothing to sell you on the idea.
Honestly, if you like cranberry juice, you will love cranberry sauce. It has a wonderfully tart and sweet flavor that pairs beautifully with maple syrup and spices like ginger, Chinese five spice, and orange. I feel all warm and fuzzy inside just thinking about it!
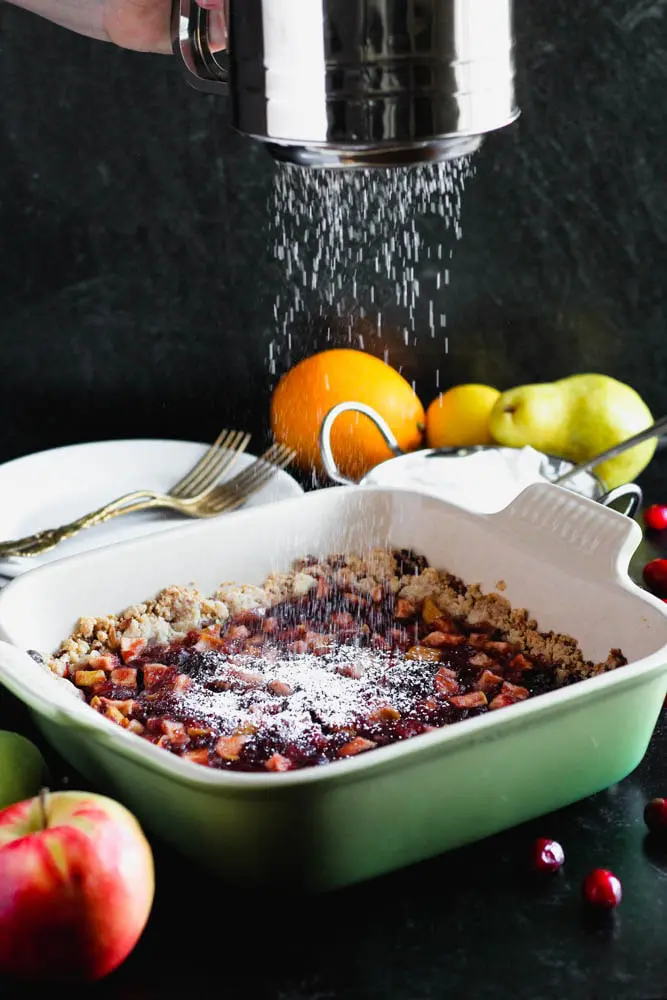
My first try at this recipe was really simple and included no other fruit besides the cranberries. It needed more freshness and acidity, so I introduced apples and pears. The combination was scrumptious! Granny Smith Apples add just the right amount of acidity and ripe Bartlett Pears have a subtle sweetness that rounds the taste of these Cranberry Bars out perfectly.
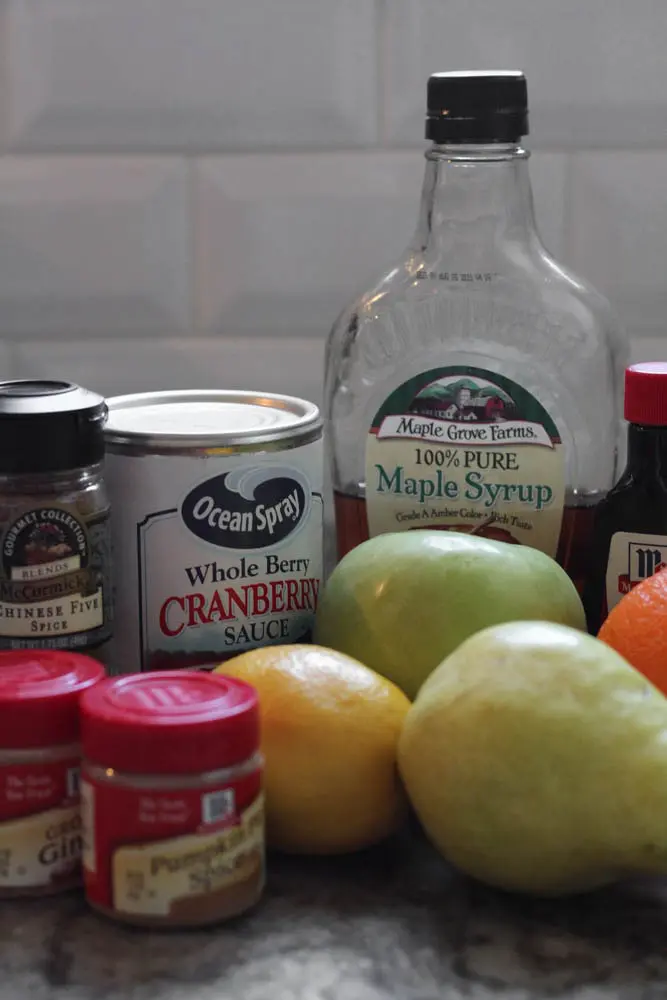
I use whole berry cranberry sauce in my recipe because that’s typically my jam on Thanksgiving, but you could certainly use the smooth consistency variety if that’s what you have around. The pears and apples provide the texture that holds the Cranberry Bars together anyways.
Also, I know pears can be a tricky thing to find ripe sometimes. I always have to let them sit on my counter for about a week before they no long have the texture of a pet rock.
This recipe works perfectly with both fresh or canned pears so if you can’t find ripe fresh ones, definitely use canned. I like the canned kind that is stored in 100% juice.
I didn’t talk much about the crust in this recipe because it’s so dang simple, there isn’t much to cover. I use the same base recipe as you can find on my Chocolate Junk post which is just an easy shortbread crust that your press into the pan, no rolling required. It’s not a very sweet crust either which ensures the filling is the star of the show.
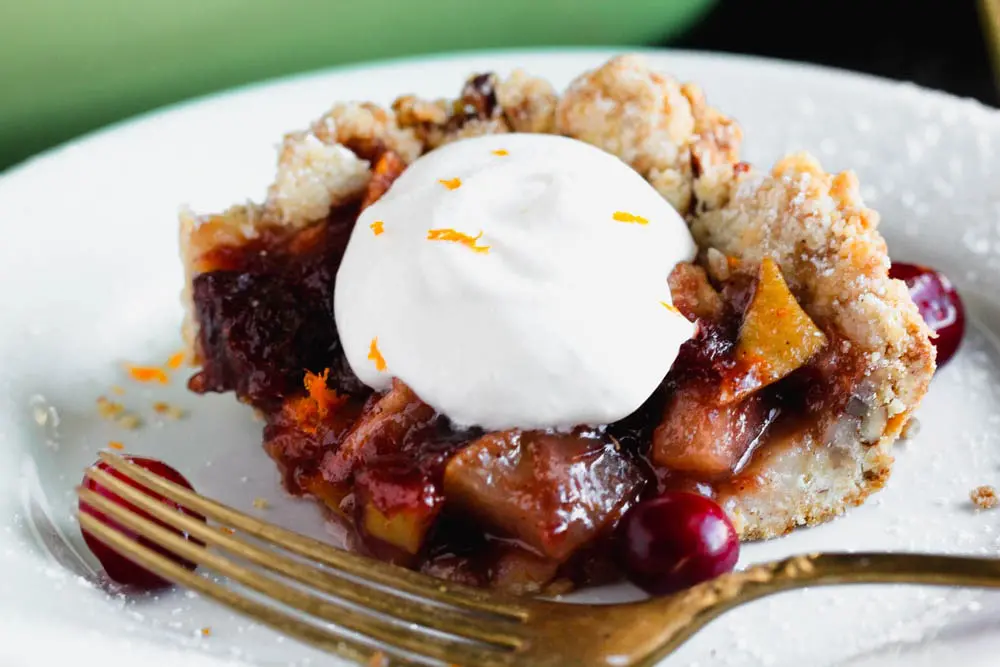
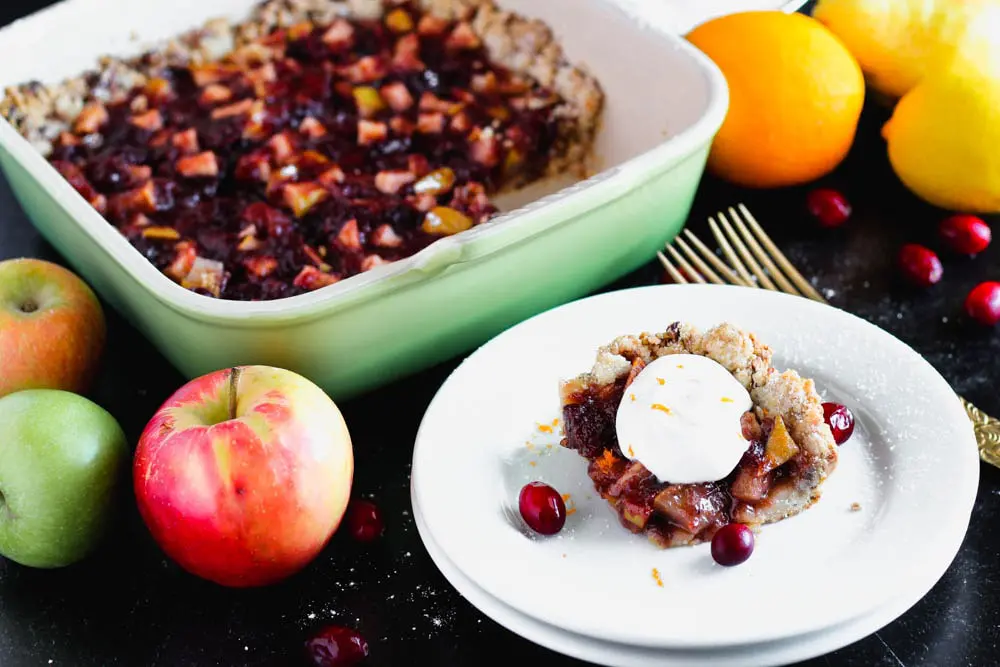
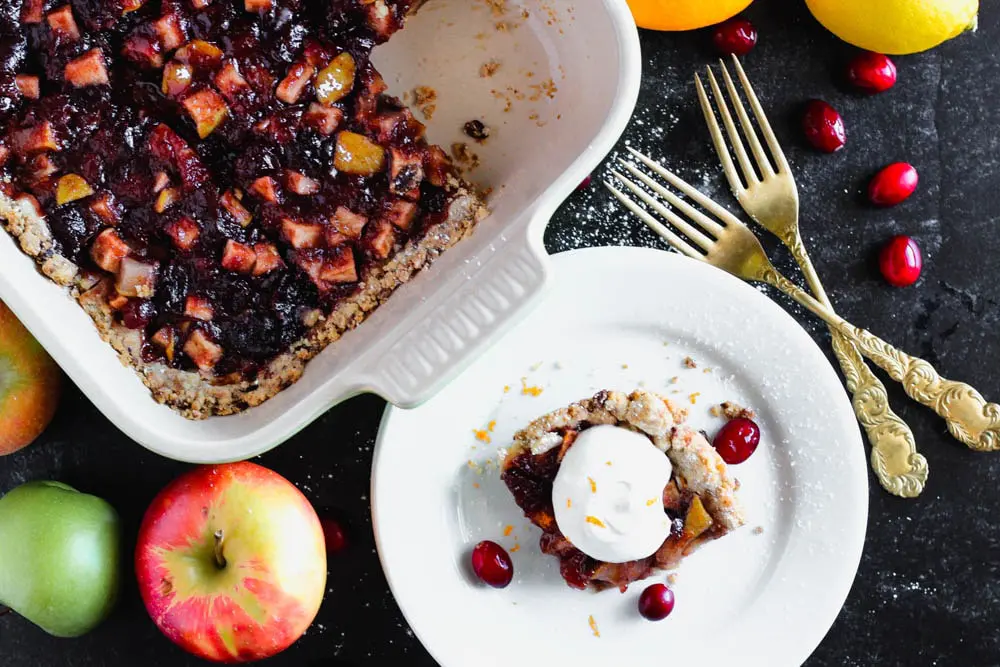
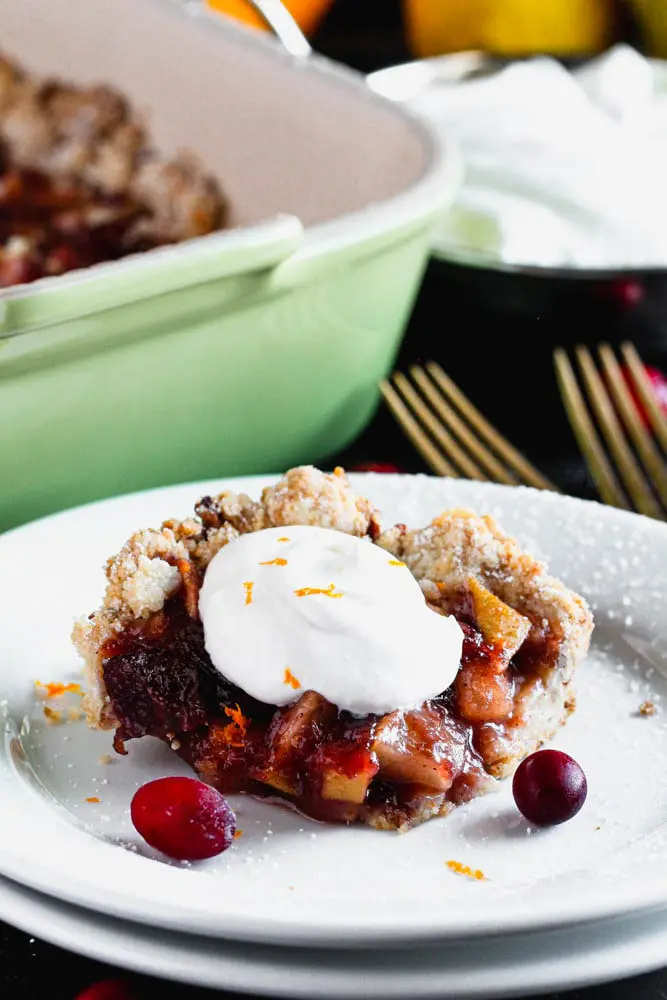
Whether you’re looking for the perfect way to use up Thanksgiving leftovers or just want a treat that features all the bounty of fall, Cranberry, Apple and Pear Bars are the recipe you’ve been looking for. I like to serve these bars with a dollop of fresh whipped cream. Vanilla ice cream would also be a delicious topping.
Try out this easy dessert and let me know what you think!
Cranberry, Apple and Pear Bars
Ingredients
Crust
- ½ C butter melted
- 2 Tb white sugar
- ½ tsp pumpkin pie spice
- 1.5 C all-purpose flour
- ½ tsp kosher salt
- ½ C pecans finely chopped
Filling
- 1 14 oz can whole berry cranberry sauce
- 1 bartlett pear
- 1 granny smith apple
- ½ lemon
- ½ orange
- ¼ C maple syrup
- ½ tsp Chinese five-spice
- ½ tsp pumpkin pie spice
- ½ tsp kosher salt
- ¼ tsp ground ginger
- ½ tsp vanilla extract
Whipped Cream (optional)
- 1 C heavy cream
- ⅓ C powdered sugar
- 1 tsp vanilla extract
- pinch kosher salt
Instructions
To make the crust
- Preheat the oven to 375 degrees. Prepare an 8-inch by 8-inch pan with baking spray.
- Combine the melted butter, sugar and pumpkin pie spice with a fork. Add the flour and salt and mix until large crumbs start to form. Last, add the pecans and mix until evenly distributed.
- Pour the mixture into the prepared pan. Press the dough into an even layer using your fingers. I like to use a technique where I work from the center of the pan out toward the edges, keeping the crust an even thickness. The dough will go only about halfway up the sides of the pan. Press firmly where the two sides of the pan meet so it's not too thick in the corners.
- Place the crust in the freezer for 15 minutes to prevent it from shrinking when baking. After 15 minutes in the freeze, immediately place in the oven and partially bake the crust for 15 minutes before filling.
To make the filling
- Zest the orange half and reserve in a large mixing bowl. Zest and juice the lemon half and add to the orange zest. Peel the apple and cut into a half-inch dice. Also, dice the pear into half-inch pieces but no need to peel.
- Add the diced apple and pear and all of the remaining ingredients to the bowl with the citrus zest and mix until well combined.
- Once the crust has baked for 15 minutes, pour the filling in and place it back in the oven. Don't worry if the crust is still hot when you add the filling.
- Bake for 45-50 minutes at 375 degrees. The filling will be set but still with a wiggle to it. The edges should be browned but not burnt.
To make whipped cream
- Place the cold heavy cream into a medium mixing bowl. Using a hand mixer or stand mixer, whip on high for 60 seconds. Turn the mixer off and add the remaining ingredients.
- Turn the mixer back on and whip on high until the cream is stiff. Turn the speed down to medium-high when the texture starts to thicken to prevent the cream from becoming butter. Stop as soon as you can easily hold a dollop on your finger or a spoon.
Related Posts:


Latest posts by Hailey (see all)
- Sour Cream and Onion Skillet Biscuit - April 9, 2023
- Bacon Pesto Pasta - March 30, 2023
- Pimento Mac and Cheese - March 19, 2023
Leave a Reply