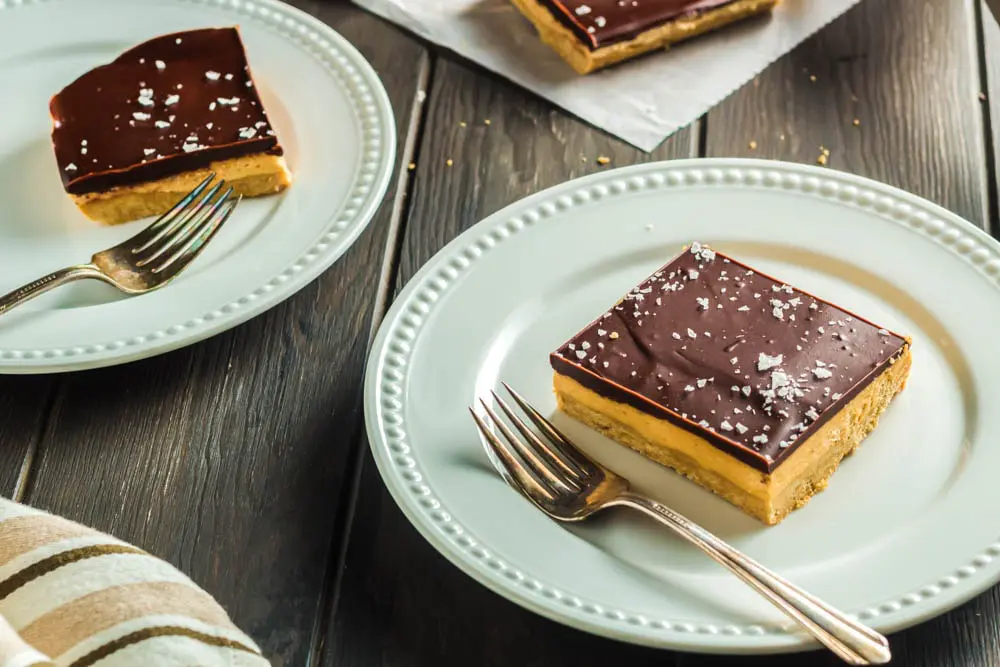
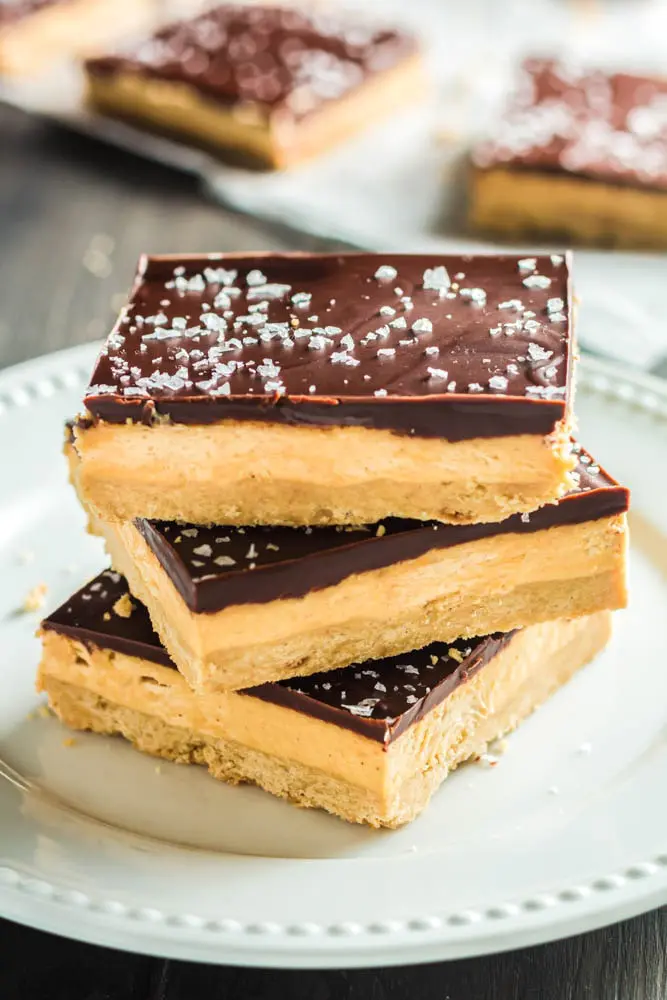
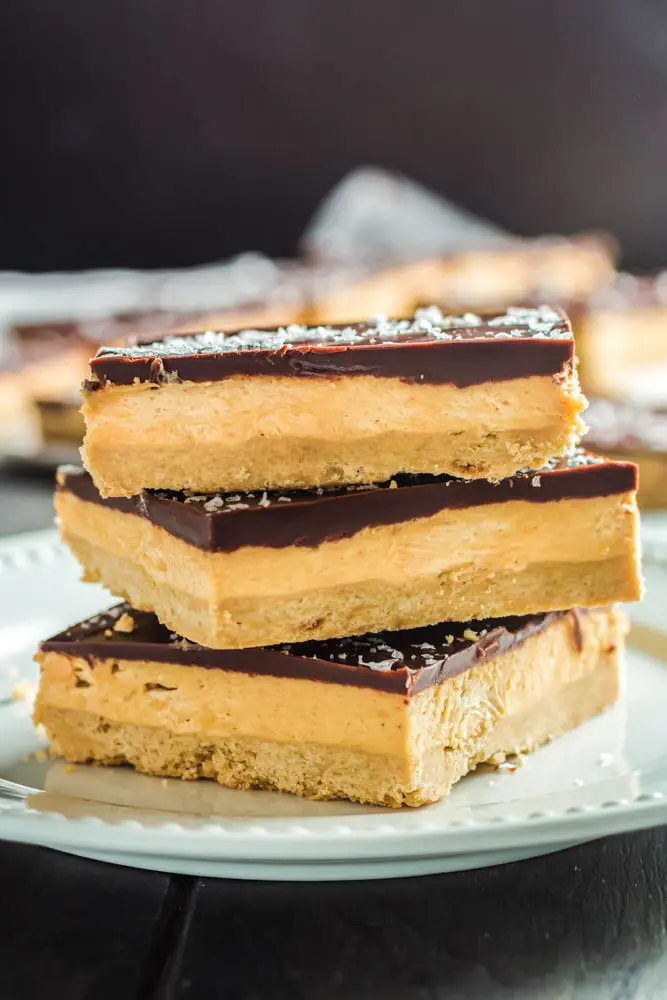
Chocolate Peanut Butter Bars are the magical marriage of peanut butter cookies, creamy peanut butter filling, and rich chocolate ganache topped with a sprinkle flaky sea salt. Chocolate and peanut butter is a classic flavor pairing that never gets old. This recipe celebrates those two flavors with the added benefit of a cookie crust and the perfect salty finish.
This recipe is almost no-bake. Only the crust must be baked. The filling and the chocolate topping are both quick and easy to prepare. Not to say the crust is hard to make. It’s super simple to put together.
Chocolate Peanut Butter Bars are a breeze to make and heavenly delicious. The entire recipe contains less than 10 ingredients and can easily be assembled in an hour or less. You don’t need any fancy equipment or ingredients either. Basically, you have no excuse to not try these amazing cookie bars!
Ingredients for Chocolate Peanut Butter Bars
If you’re thinking a recipe with three layers sounds complicated, you’re totally wrong! This recipe only requires eight ingredients- most of which you probably have in your pantry right now. To make Chocolate Peanut Butter Bars you’ll need-
- Peanut Butter- There is peanut butter in both the cookie crust and the peanut butter filling to make sure Chocolate Peanut Butter Bars has tons of delicious peanut butter flavor.
- Butter- Melted butter gives the cookie crust it’s rich flavor and is the base for the filling which is pretty much peanut butter buttercream.
- Brown Sugar- I like the addition of brown sugar to the cookie crust. It adds a nice caramel flavor to the crust and gives added chewy texture.
- Powdered Sugar- The peanut butter filling uses powdered sugar as sweetener to ensure the filling stays nice and light.
- All-Purpose Flour
- Vanilla Extract
- Kosher Salt
- Semi-Sweet Chocolate Chips
- Sea Salt- I love Fleur de Sel as a finishing salt for both sweet and savory recipes. It is super light and flaky compared to normal kosher salt. It also has a delicate taste that doesn’t overpower the other flavors.
Creamy versus crunchy peanut butter
The choice of creamy versus crunchy peanut butter is totally up to you. Peanut butter is in both the cookie crust and the filling, and you can use creamy or crunchy in both or mix it up by making one with crunchy and one with creamy.
Crunchy peanut butter will add a nice texture to the recipe, but the bars may not cut quite as smoothly. The peanut butter filling is smooth and creamy when made with creamy peanut butter but also gets some added peanut flavor from crunchy. Basically, you can’t go wrong with either.
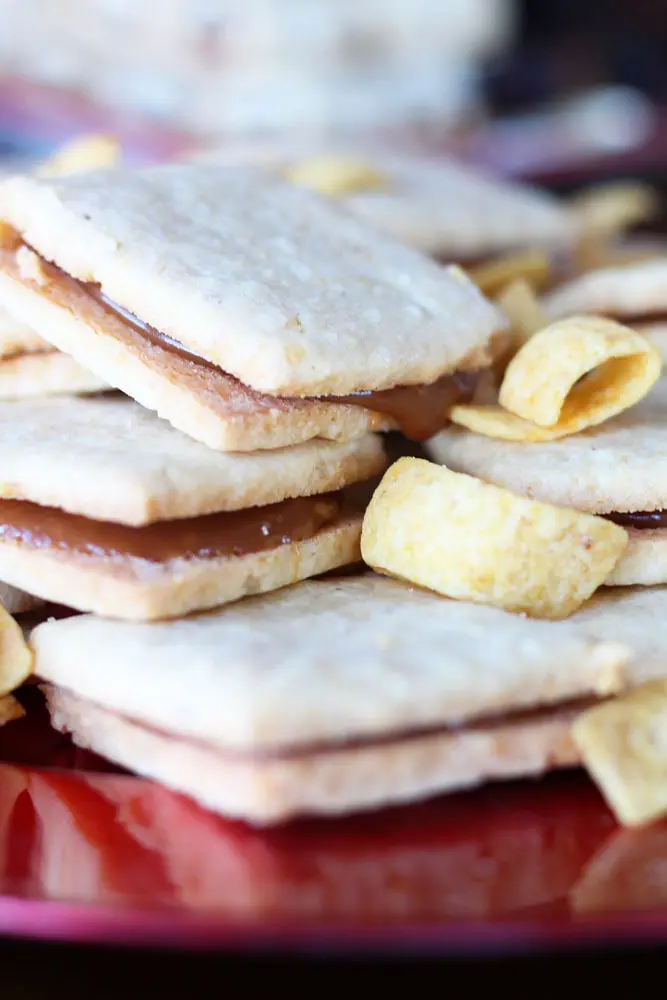
The images in this post are of bars made with creamy peanut butter.
Can the cookie crust be made in advance?
Absolutely! If you want to make the cookie crust on the same day but hours before filling it, you can keep the crust at room temperature until you’re ready. If you want to make the crust days in advance, store the crust in the fridge covered in plastic wrap. The crust will keep in the fridge for up to three days before filling.
How long do Chocolate Peanut Butter Bars last?
Not very long in my experience, but that’s because they get devoured! They will stay fresh for up to one week when stored in an airtight container in the fridge.

Should the bars be served cold?
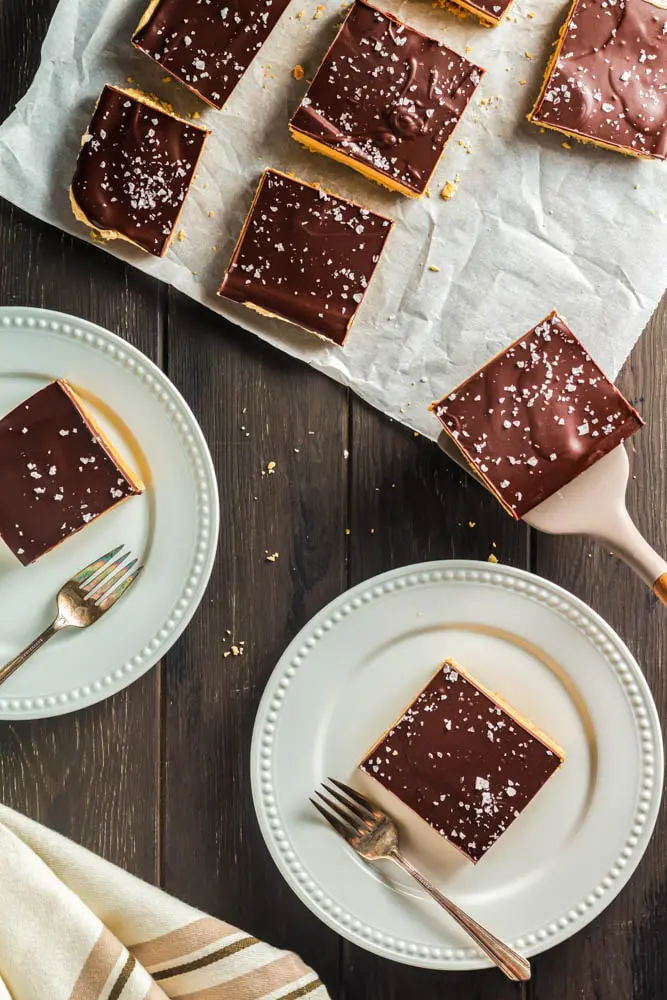
I mention this in my tips below- the bars cut best when completely cold. That being said, I think they are best served cool but not ice cold. For the best results, let the bars chill completely before cutting, but let the bars set out at room temperature for 15-20 minutes before serving. Store in the fridge when not serving.
Tips for making Chocolate Peanut Butter Bars
- Line the pan with parchment paper going both directions if you want to make the bars easy to remove from the pan.
- Spray your measuring cup with a little bit of nonstick baking spray before measuring your peanut butter so it will fall right out of the measuring cup.
- Be sure to sift your powdered sugar before blending the butter and peanut butter for the filling to make sure it turns out smooth.
- If you don’t have a microwave, you can also melt the chocolate chips and butter in a double boiler on the stovetop. If you don’t have a double boiler, you can set a heat-safe glass bowl over a saucepan of simmering water- just be sure the bottom of the bowl isn’t touching the water.
- Be sure the crust is totally cool before adding the filling and that the chocolate is totally cool before pouring over the filling. The filling is primarily made up of butter. If the crust or chocolate are too hot, you risk melting the filling.
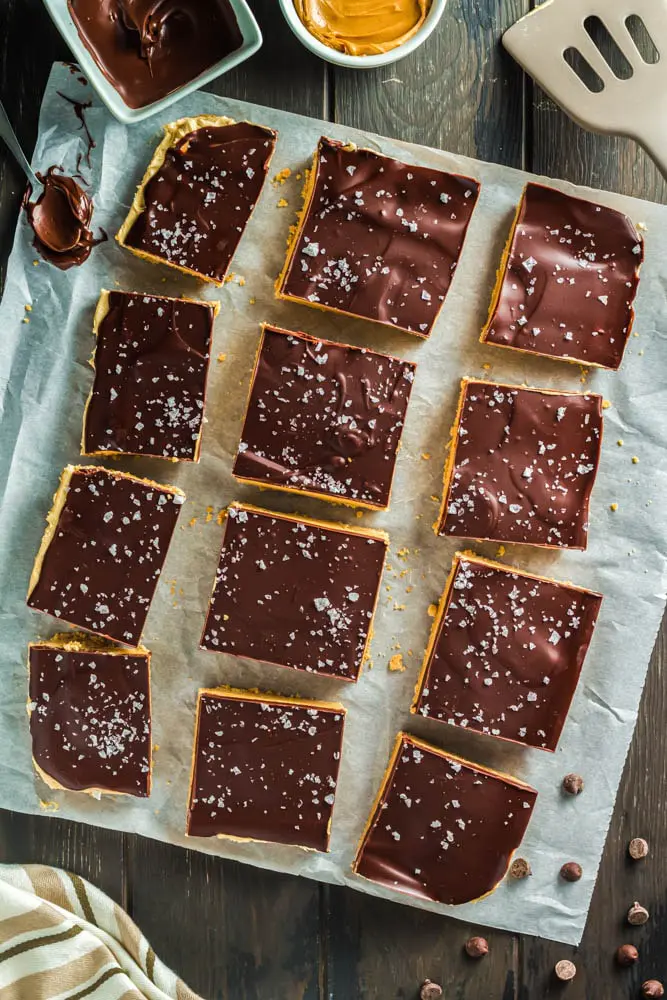
- To get nice clean cuts, make sure you let Chocolate Peanut Butter Bars chill completely. The recipe recommends a minimum of two hours of chilling, but I would say four hours is safer if you want perfect cuts. If the bars are even slightly less than cold, you risk smashing the peanut butter filling when slicing. A sharp knife is also key.
Other recipes to check out
If you're looking for other easy, no-bake chocolate recipes, don't miss my Thin Mint No-Bake Chocolate Cheesecake. If peanut butter is what you're craving, my Peanut Butter and Honey Cookies are another delicious recipe you have to try.
Chocolate Peanut Butter Bars are not to be missed! Give this recipe a try and let me know how it goes.

Chocolate Peanut Butter Bars
Ingredients
Cookie Crust
- ½ C butter melted
- ¼ C peanut butter crunchy or creamy
- 2 Tb brown sugar
- 1.5 C all purpose flour
- ½ teaspoon kosher salt
Peanut Butter Filling
- ¾ C butter room temperature
- ¾ C peanut butter crunchy or creamy
- 1 C powdered sugar sift
- ½ teaspoon kosher salt
- 2 teaspoon vanilla extract
Chocolate Topping
- 1 C semi-sweet chocolate chips
- 6 Tb butter room temperature
Flaky Sea Salt*
Instructions
To make the crust
- Preheat the oven to 350 degrees. Prepare a 9" x 13" baking pan with nonstick spray.
- Combine all ingredients in a small mixing bowl. Spread the dough out in the prepared baking dish using your hands to form an even smooth layer. Bake for 15-18 minutes or until golden brown around the edges.
- Let the crust cool completely before topping with the peanut butter filling.
To make the filling
- Place all the ingredients into a mixing bowl and whip with a hand mixer or whisk until smooth, creamy and slightly aerated.
To make the topping
- Place the chocolate chips and butter in a microwave-safe bowl. Microwave in for 30 seconds, stir, and then microwave in 15-second increments, stirring between each one. Microwave until the butter and chocolate are totally combined and the texture is smooth.
- Allow the chocolate to cool to room temperature before pouring over filling.
To assemble the bars
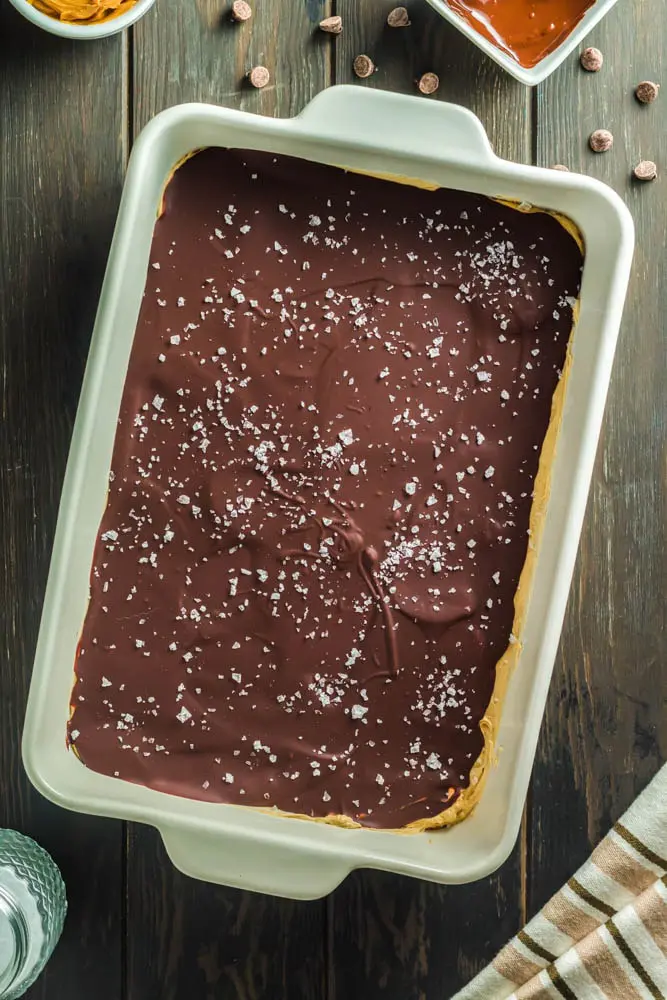
- Top the pre-baked and cooled crust with the peanut butter topping. Spread evenly over the crust. Once the topping is cooled, pour over the filling and spread into an even layer. Finish with a healthy sprinkling of sea salt.
- Cover the baking dish with plastic wrap. Chill the bars for at least two hours before cutting with a sharp knife. Store in the fridge for up to a week.
Notes
FREQUENTLY ASKED QUESTIONS
Yes. It can be kept at room temperature for up to 12 hours or stored in the fridge for up to 3 days.
This comes down to personal preference, but I like creamy in this recipe so the bars cut super smooth.
Yes, but use it sparingly. Flaky sea salt like fleur de sel and Maldon sea salt have a more delicate flavor than kosher salt, so you can use more without the saltiness being overpowering. If using kosher salt, I recommend a vary light sprinkle.
Related Posts:


Latest posts by Hailey (see all)
- Sour Cream and Onion Skillet Biscuit - April 9, 2023
- Bacon Pesto Pasta - March 30, 2023
- Pimento Mac and Cheese - March 19, 2023

Lauren Cave says
YAY! It's here. Can't wait to make this for Dan's birthday.
I hope it's the perfect birthday treat for Dan the man. Happy birthday, and thanks for dropping a comment!
Lauren Cave says
Thank you for the extra tips about the salt and the microwave!!!
This super smart lady I know told me that not everyone has a microwave. 🙂 I can't wait to hear what you think of the recipe!