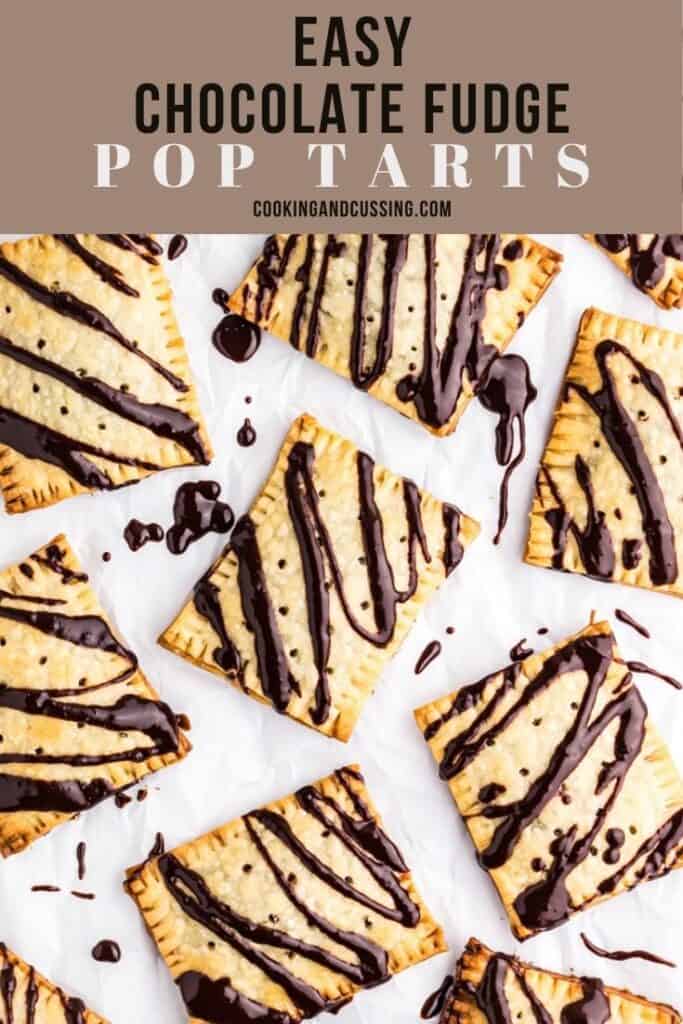
Pop-Tarts are a blast from my childhood past, and my Easy Homemade Chocolate Fudge Pop-Tarts are all the decadent deliciousness you remember and more! Store-bought pie crust is the cheat that makes this recipe easy.
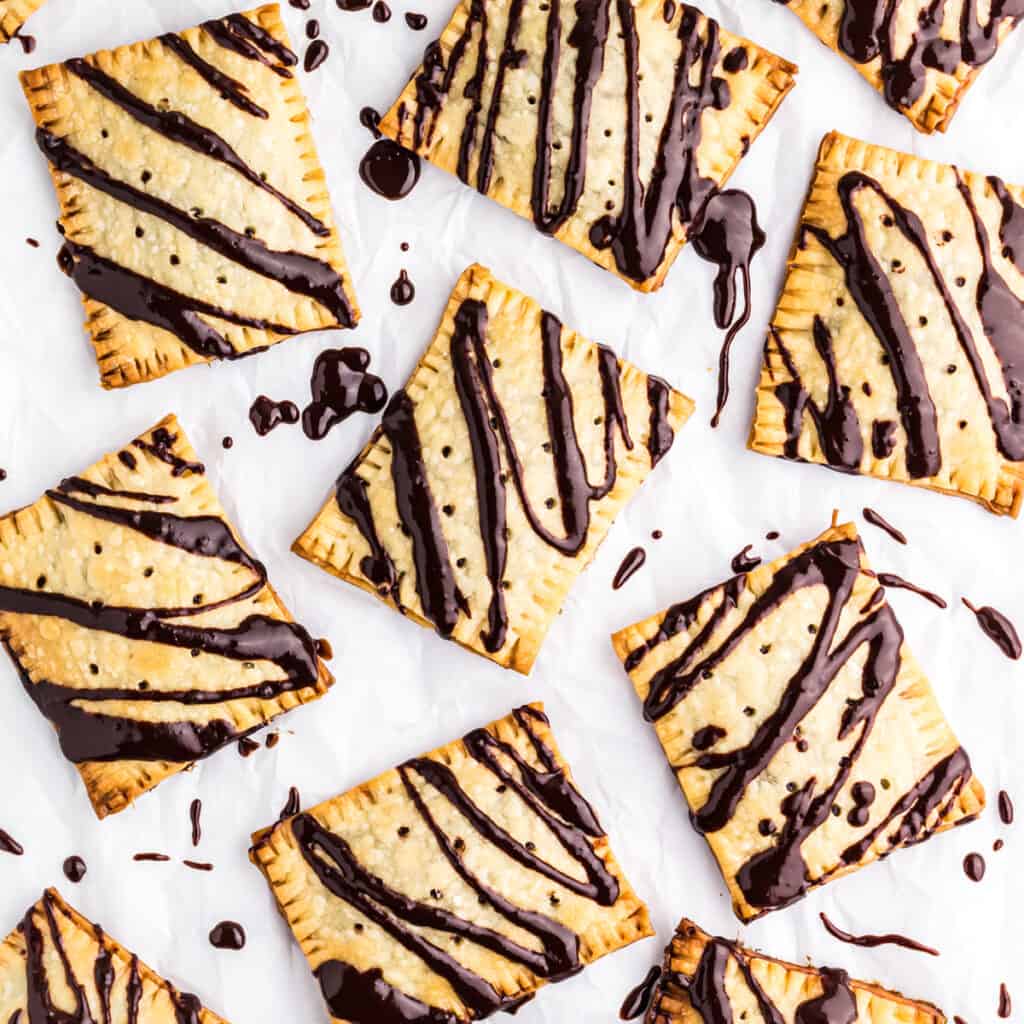
Homemade Pop-Tarts are slightly more decadent than the cereal aisle variety but are surprisingly easy to make. The recipe uses store-bought pie crust instead of a pastry made from scratch so the entire recipe, including cook time, takes less than an hour and requires no special equipment.
Store-bought pie dough doesn’t have any sugar since it’s meant for savory or sweet recipes. I sweeten the pie crust up just a little bit by using powdered sugar instead of flour to roll out the dough.
Ingredients
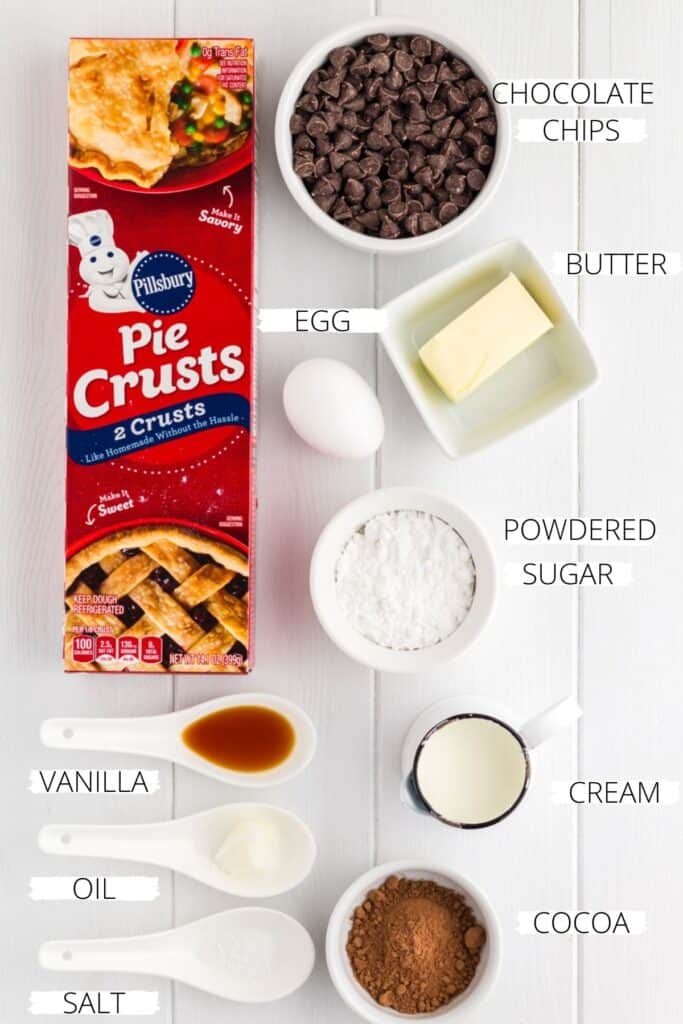
Homemade Chocolate Fudge Pop-Tarts require chocolate, duh, and a few other simple items.
- Semisweet chocolate chips
- Heavy cream
- Butter
- Cocoa powder
- Vanilla
- Salt
- Pie crust- You want the dough that comes rolled up, NOT the kind that is already on a foil pie plate. Check the refrigerated section of the store where biscuit and cookie dough are sold.
- Powdered sugar
- Egg
- Coconut oil- I like coconut oil because it helps the icing set after cooling. This is optional as you can use heavy cream to thin out the filling for the icing.
Instructions
If you don’t like to work with dough, you may not consider this recipe “easy,” but honestly, store-bought pie crust dough is incredibly forgiving. You can reroll it, tear it and piece it back together, or eff it up any other way you please, and the recipe will still come together.
- Make the chocolate fudge filling. It is like a chocolate ganache thickened with cocoa powder, so making it requires a little heat from the microwave and some stirring.
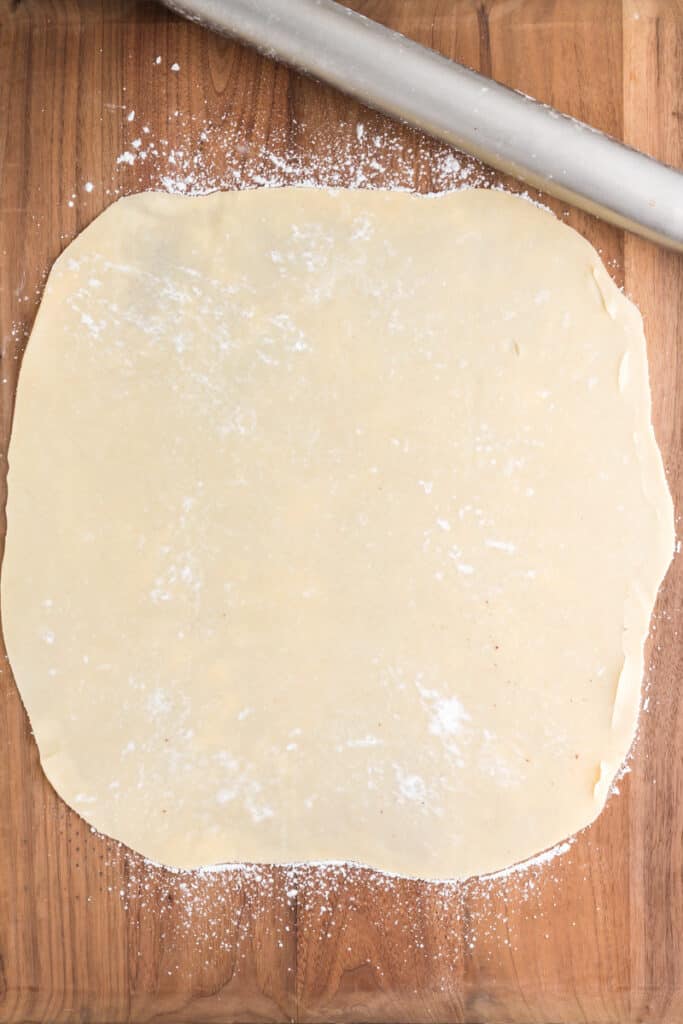
- Roll out the pie dough with powdered sugar.
- Cut the dough into rectangles.
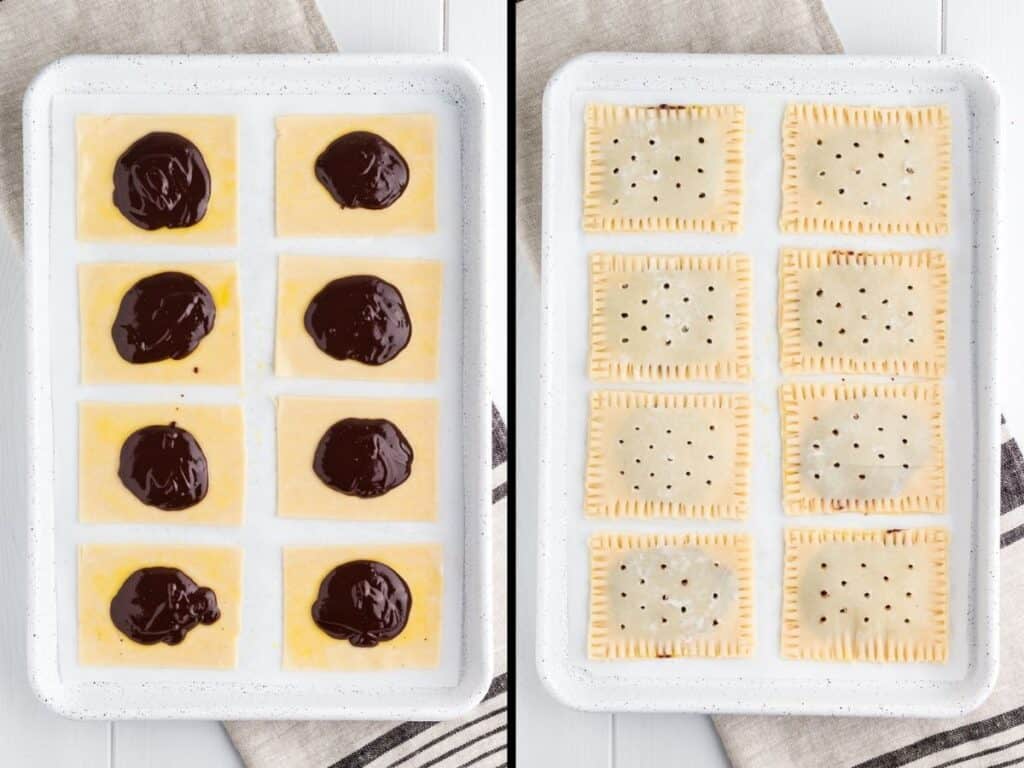
- Cover half of the dough rectangles with egg wash and chocolate fudge filling and use the remaining dough as a topper. Crimp the edges to seal.
- Make the icing by thinning the leftover fudge filling with coconut oil.
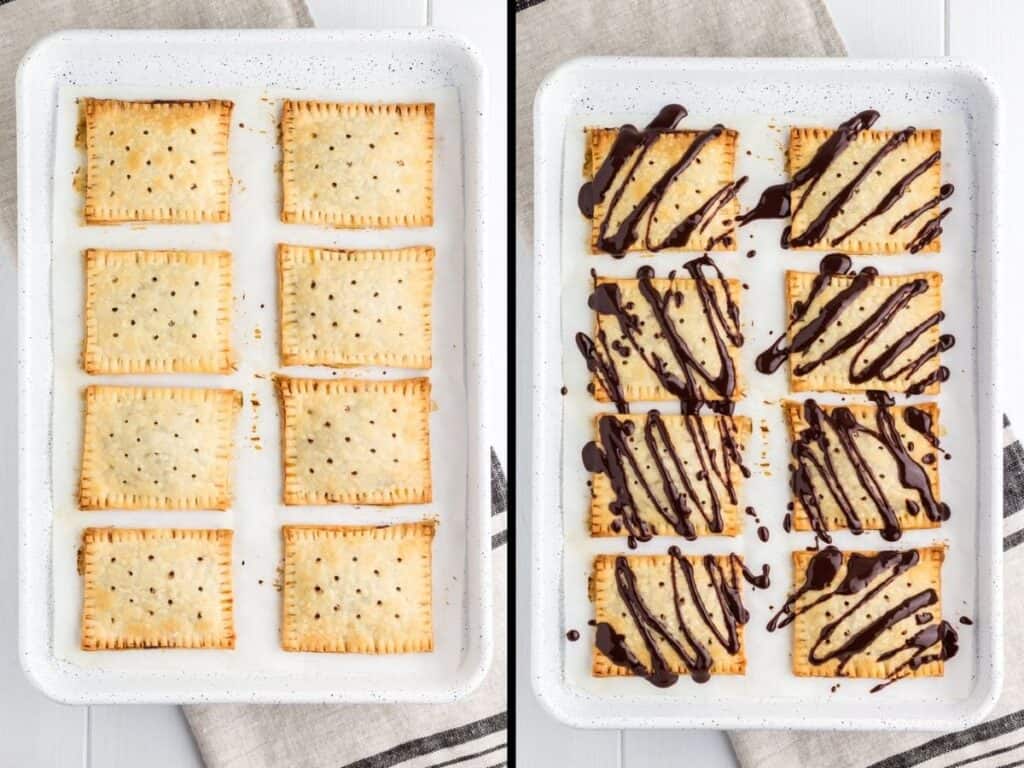
- Bake, cool, and drizzle with icing.
Variations
You could easily make your own favorite Pop-Tart flavor using the store-bought pie crust cheat I use here. Strawberry preserves would make a delicious filling choice. Sally’s Baking Addiction also has an amazing recipe for Frosted Brown Sugar Pop-Tarts; substitute premade pie dough for her pastry from scratch, and the recipe just got a whole lot easier.
There is also some room for creativity with the chocolate you use in your Easy Homemade Chocolate Fudge Pop-Tarts. Dark chocolate, milk chocolate, or even flavored chocolate would be delicious in this recipe.
Equipment
The most complicated step in the recipe is cutting the pie crust into rectangles. I wouldn’t necessarily call a ruler kitchen equipment, but I consistently use a ruler to cut even straight lines. There’s a ruler in my baking drawer that is only used in the kitchen.
Making the recipe without a microwave
Not everyone has a microwave in their kitchen, but fear not! You can make the chocolate fudge filling using your stovetop.
I recommend heating the butter and cream over medium heat until the butter is melted, and the cream just starts to bubble around the edges of the saucepan. Pour the warmed cream over the chocolate chips and add the remaining ingredients.
Also, if you don’t have a microwave, pour off the ½ cup of fudge filling for the icing immediately after making it. Place it in a small heat-safe glass bowl and add the coconut oil while it’s warm. You may need to reheat the icing to make it the right consistency for drizzling. Set the bowl over a pot of simmering water (like a double boiler) to reheat.
Storage
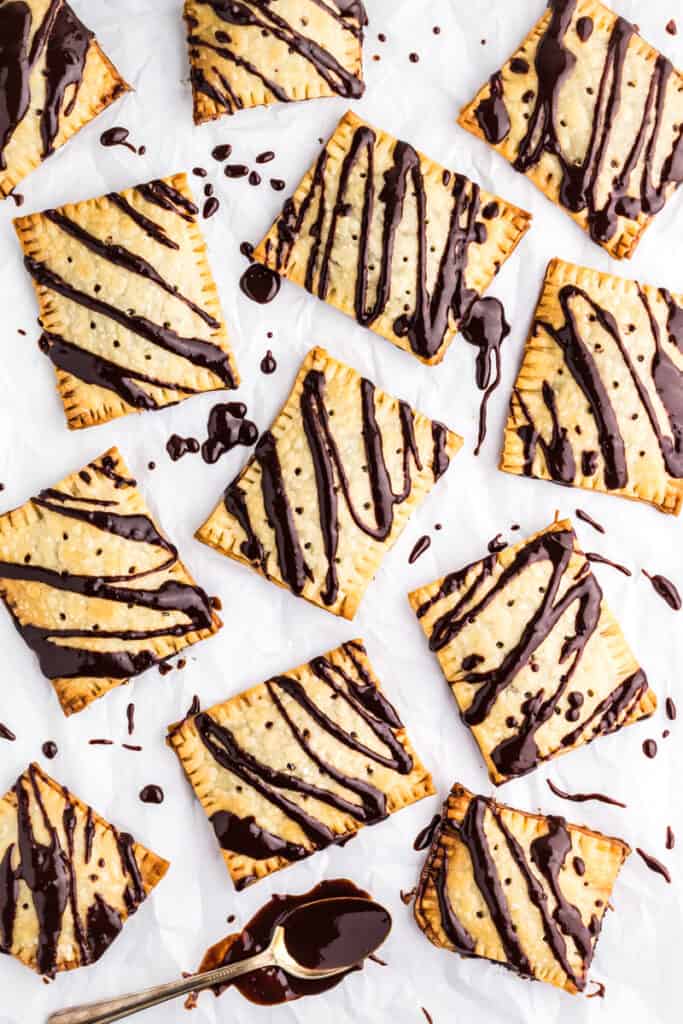
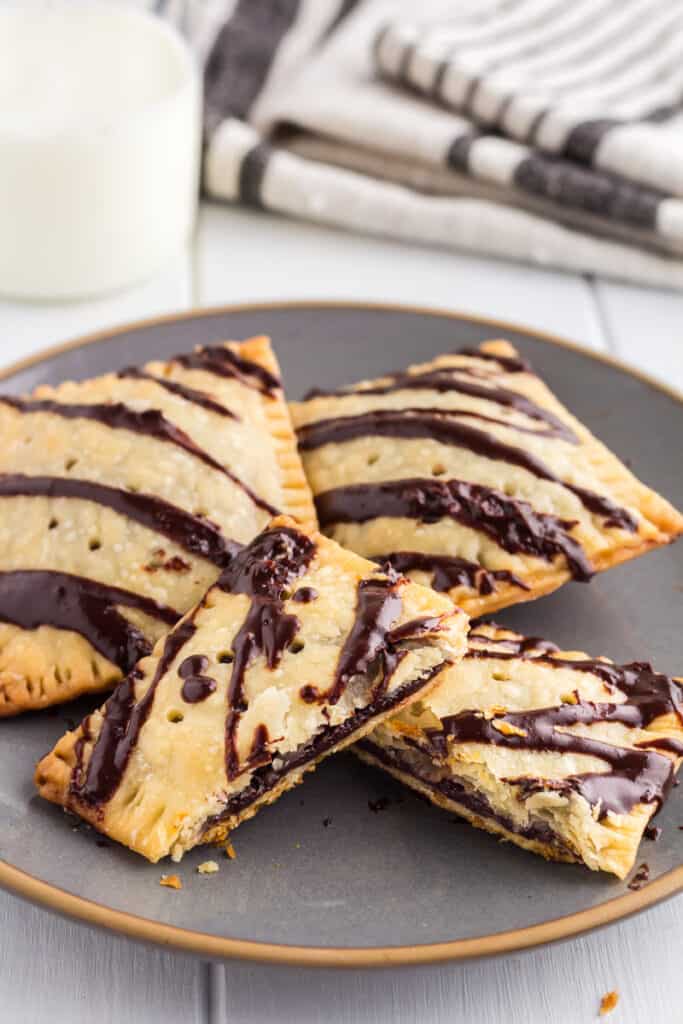
- Serve: Homemade Pop-Tarts are best served warm and freshly iced.
- Store: These Pop-Tarts travel well because the coconut oil sets the icing, so they can be stacked. Store them in an airtight container for up to three days.
- Freeze: Unglazed Pop-Tarts can be frozen. Thaw them before reheating by placing them in the fridge for 24 hours.
- Reheat- Once thawed, bake at 350 for 10 minutes to reheat. Make a quick icing without any leftover fudge filling by melting 1 Tb of coconut oil with 4 oz of chocolate chips.
Top tips
Working with dough may seem daunting if you don’t do it often, so let me give you a couple of helpful tips.
- Use a sifter to evenly dust your work surface with powdered sugar.
- Work with one pie crust roll at a time and leave the other in the fridge until you’re ready for it. Cold dough is easier to work with and less sticky.
- To work the round pie crust into a square shape, roll the dough from the center out towards the four corners. You want a 12” x 12” square, so roll the dough out to a square slightly larger than that so you can trim the edges to be straight.
- Use a ruler to measure the dough into equal 4” tall by 3” wide pieces. If you achieved the 12” x 12” square, make marks at 3”, 6”, and 9” across, and 4” and 8” down. Check out the image below for a visual reference.

Easy Homemade Chocolate Fudge Pop-Tarts are a fun project to enjoy with kids, but I promise the adults will like this treat just as much as they do. Try out the recipe and let me know what you think with a rating and comment.
If you enjoyed this recipe, be sure to check out all of my savory hand pie recipes. Shepherd's Pie Hand Pies and Louisiana Meat Pies are two of the most popular recipes from Cooking and Cussing.
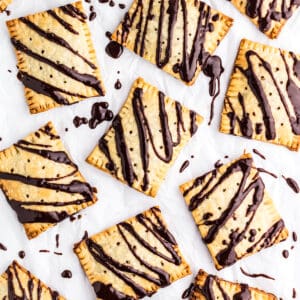
Easy Homemade Chocolate Fudge Pop-Tarts
Ingredients
- 1 cup semisweet chocolate chips
- ¼ cup heavy cream
- ¼ cup salted butter
- 2 Tb cocoa powder
- 1 tsp vanilla extract
- ⅛ tsp kosher salt
- 2 sheets store-bought pie crust
- ¼ cup powdered sugar
- 1 egg
- 1 tsp coconut oil optional
Instructions
To make the chocolate fudge filling:
- Place the chocolate chips, heavy cream, and butter into a microwave-safe dish.
- Heat the mixture in the microwave for 20 seconds. Remove from the microwave and stir. Heat in 15-second increments, stirring between each, until the chips are slightly melted. The residual heat and stirring will help them melt completely, and you want to be careful not to scorch the chocolate.
- Allow the filling to cool in the freezer for 15 minutes, stirring occassionally. The filling should be slightly thickened and around room temperature before filling the pop tarts.
- Pour ½ cup of the cooled fudge filling into a small bowl and set aside. This will be used for the icing.
To make the pop-tarts:
- Preheat the oven to 400°F. Prepare a baking sheet with parchment paper.
- Prepare your work surface with a light dusting of sifted powdered sugar. Unwarp the pie crusts and lay flat on surface. Dust the top of the crusts with more sifted powdered sugar.
- Working from the center of the round crust to the four corners, roll out the dough to form a roughly 12'' x 12'' square. Trim the edges to make the sides as straight as possible.
- Cut each dough into 12 pieces. The pieces should be 4" tall x 3" wide.
- Make an egg wash by beating the egg in a small bowl and add 1 tsp of water. Whisk until combined.
- Place 12 of the dough pieces onto the prepared baking sheet. They can be placed close together since the dough won't spread.
- Brush the entire piece of dough lightly with egg wash. Scoop a heaping tablespoon of cooled chocolate fudge filling into the center of each piece.
- Place a dough rectangle on top of the filling and lightly press the edges to seal. Once sealed, gently spread the filling to meet the edge of the seal.
- Use a fork to crimp the edges of each pop tart. Bake for 15 minutes.
- While the pop tarts bake, prepare the fudge icing. Add the coconut oil* to the reserved fudge filling. Microwave for 15 seconds and stir until the coconut oil is totally combined. If needed, add 15 seconds at a time.
- Allow the baked pop-tarts to cool for 10 minutes. Use a spoon to drizzle each pop tart with fudge icing. Enjoy right away or allow them to cool to room temperature before storing so the icing can harden.
Notes
Frequently Asked Questions
Check out the section above titled, "Making the recipe without a microwave" for specific instructions.
Yes. Check out Sally's Baking Addiction recipe for perfect Pop-Tart pastry from scratch.
Nope. Milk or dark chocolate would both be delicious in the recipe.
Start with a dough that has been trimmed to a 12" x 12" square. Use a ruler to measure the dough into equal 4” tall by 3” wide pieces. If you achieved the 12” x 12” square, make marks at 3”, 6”, and 9” across, and 4” and 8” down. Check out the image below for a visual reference.
Latest posts by Hailey (see all)
- Sour Cream and Onion Skillet Biscuit - April 9, 2023
- Bacon Pesto Pasta - March 30, 2023
- Pimento Mac and Cheese - March 19, 2023

Oh how fun! I love how easily these pop tarts come together using store bought pie crust. They sound absolutely fantastic!
So easy and yummy! I can't wait to try these with some other variations too.
Just like I remember from childhood, only better! Loved these, the only thing I changed was used an organic pie crust dough. My boys thought I hung the moon!
I am craving pop tarts for a few days now and I am so glad to see your post just in time! So trying these out!
Enjoyed these for an afternoon treat and they do not disappoint! So delicious; exactly what I needed to cure my sweet tooth!
This looks like best breakfast post slumber party or a yummy dessert to feed a crowd! Loved all the instruction guides and how everything was laid out - really helpful for a visual learner. I can't wait to make this for friends and my little bb.
I would be flattered to be bebe's first Pop-Tart!
This recipe is amazing and so easy! I made these for my 9 year old son and his buddy over the weekend and they were a huge hit! Thank you!
I'm so glad they were a hit! Thanks for the feedback.