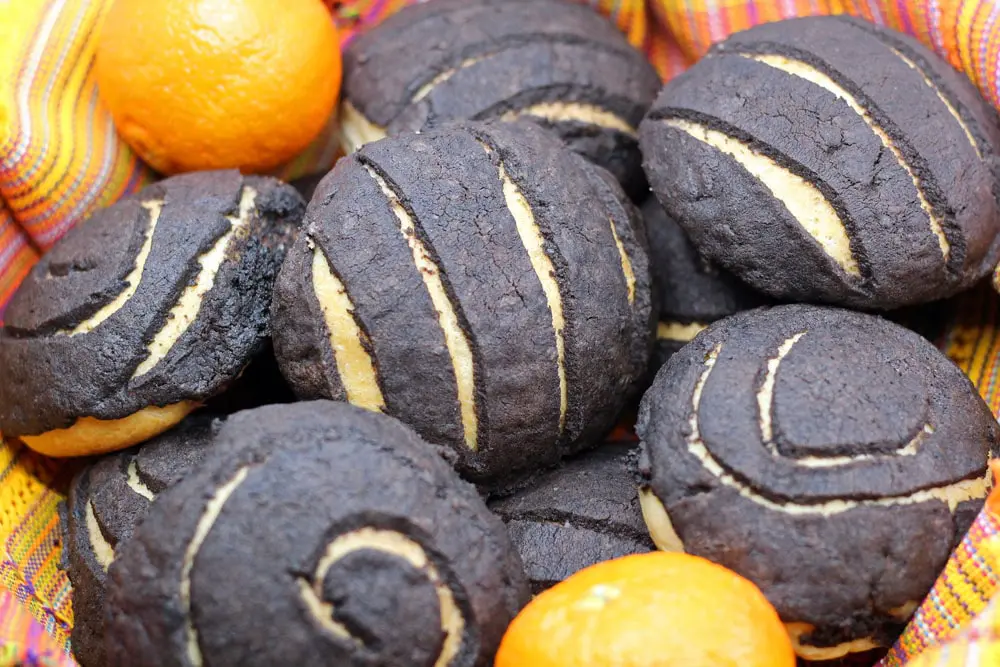
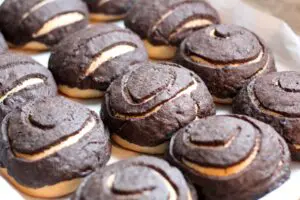
Chocolate Conchas are one of the most deeply engrained food memories I have. Conchas are Mexican sweet breads that are widely available at Latin bakeries. My babysitters growing up always brought my sister and I Conchas as a special treat, and they are still one of my favorite sweet Mexican pastries to this day.
My sister and I, along with the rest of my family, were in San Miguel de Allende last weekend for a family wedding. One of the first things I sought out as we wandered the cobblestone streets on our first morning in San Miguel was a Concha. I finally found one, and it was just as wonderful as I remember.
The funny part about this story and what led me to create this post was the fact that my sister did the exact same thing. As we sat down for dinner that night, she said, “You won’t believe what I had for breakfast this morning?” She was surprised when I immediately replied, “A Concha? I had one too!” We both chuckled about how such a simple, humble pastry could mean so much to both of us.
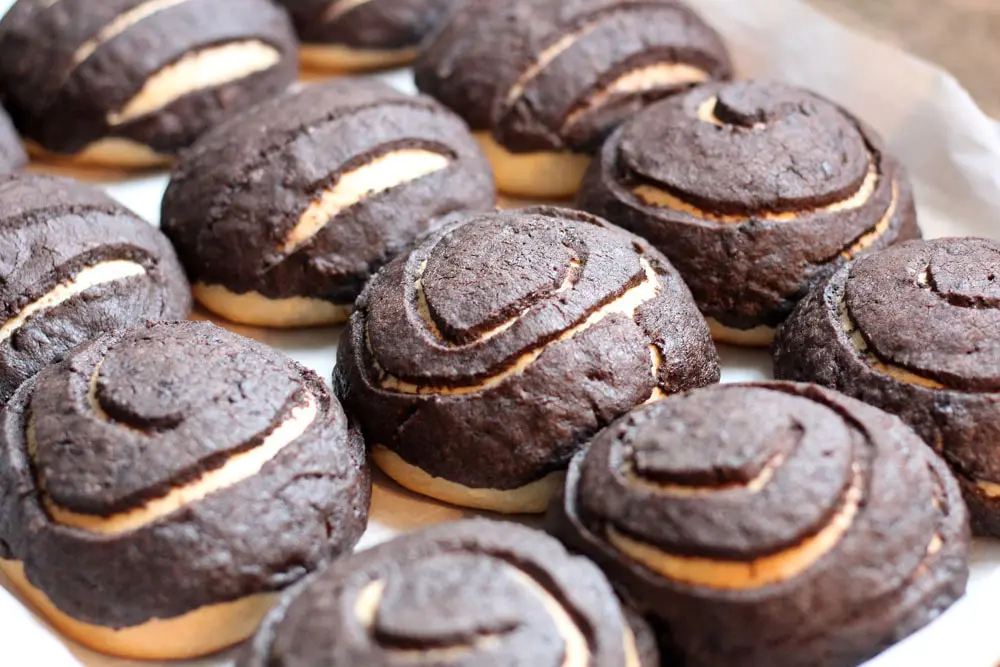
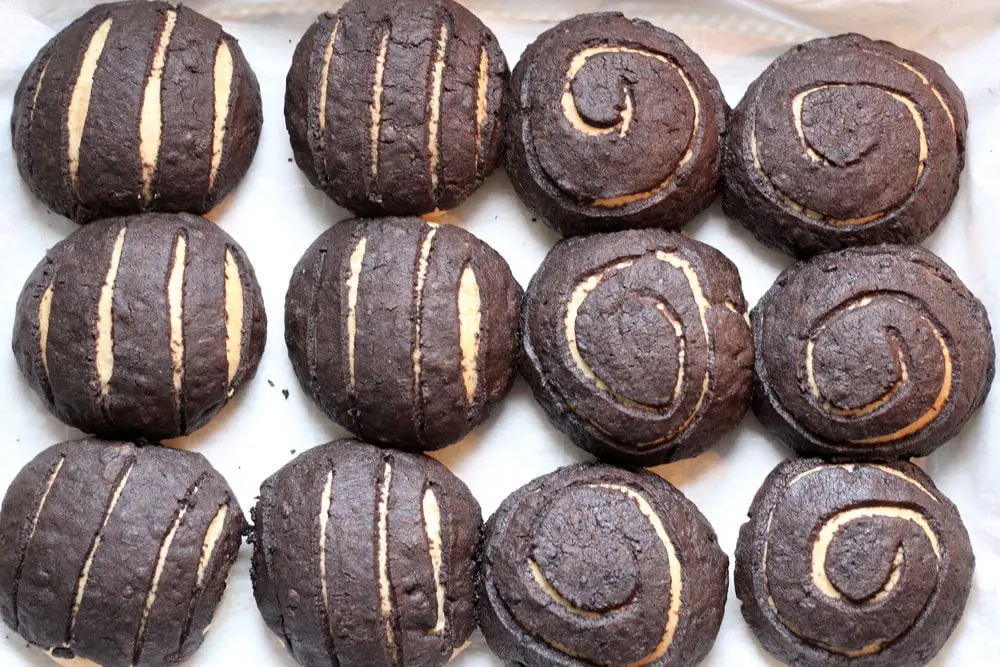
Translated from Spanish, Concha means shell, named after the patterns often found on the top of Concha breads. You can find Conchas in tons of different flavors, but my favorite has always been chocolate…duh.
I wanted to amplify the chocolate flavor in my recipe as it’s often quite subtle in the traditional version.
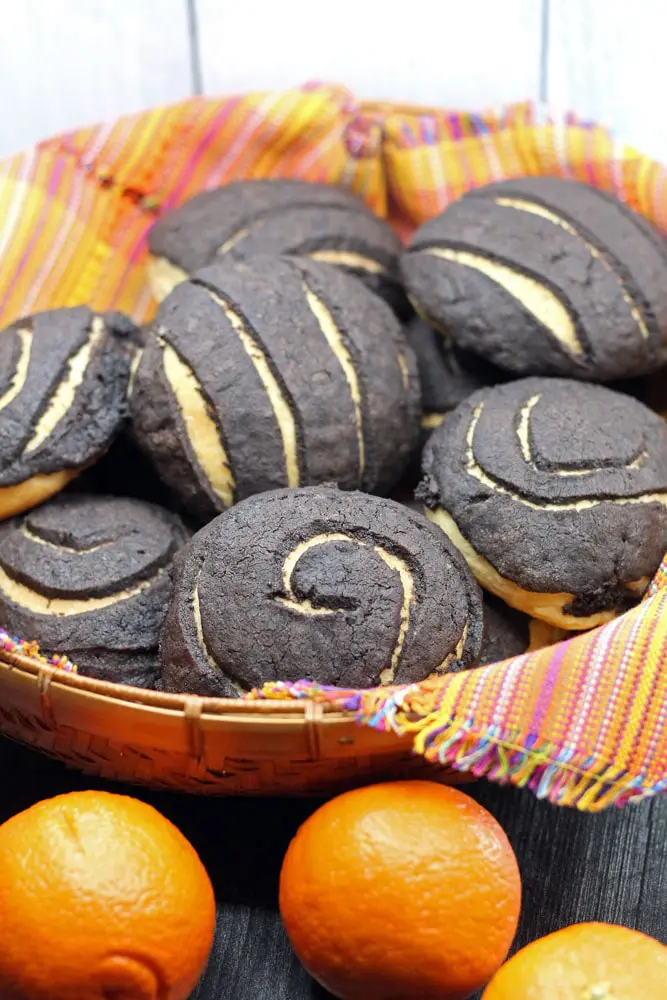
I did so by using dark chocolate cocoa powder hence why the color of the topping is so dark and rich. Any high-quality cocoa powder will work. If you’re not a big chocolate fan, you could also remove the cocoa powder from the recipe and substitute with ¼ C of flour. Vanilla Conchas are probably my third favorite behind chocolate and strawberry. I’m working on figuring out the strawberry topping recipe so stay tuned!
When we got home from Mexico, I knew one of the recipes I wanted to try to recreate was a Concha recipe. I’ve had them on my list of ideas for recipe testing since I launched Cooking and Cussing, but our trip was the kick in the ass I needed to start testing.
My mom’s yeast roll recipe which I wrote about as part of my Thanksgiving menu this year is a classic in my family. The recipe is basically a milk sweetbread with a similar texture to a Concha. I enriched her dough recipe with an extra egg, additional butter, and a dash of cinnamon and fell in love with the result. The texture is very similar to a traditional Concha, but the bread is a bit moister.
When I started researching concha recipes, I was somewhat surprised but also delighted to find out that a Concha is basically a yeast roll with a cookie pressed on top. Well, no f*cking wonder I love them so much!! The cookie topping is similar to a basic sugar cookie recipe. The dough is then pressed very thin using a tortilla press before placing on top of the roll.
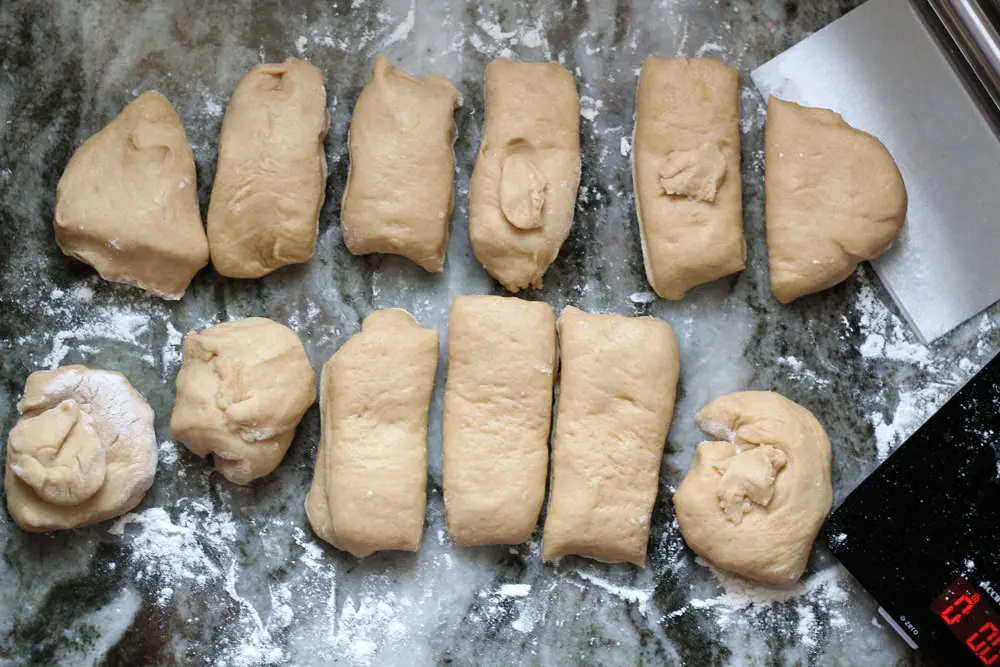
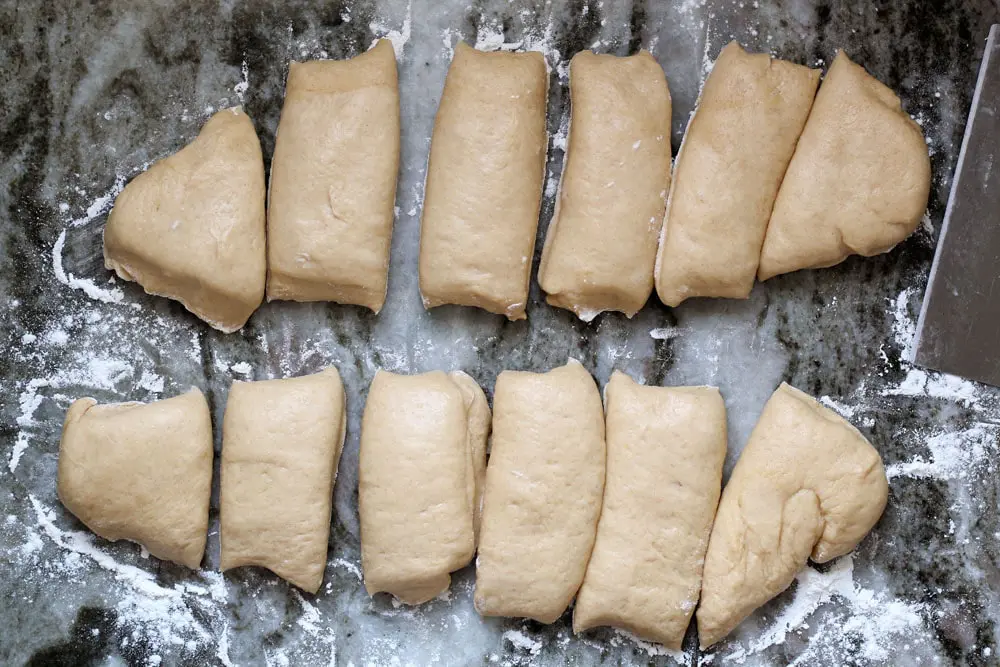
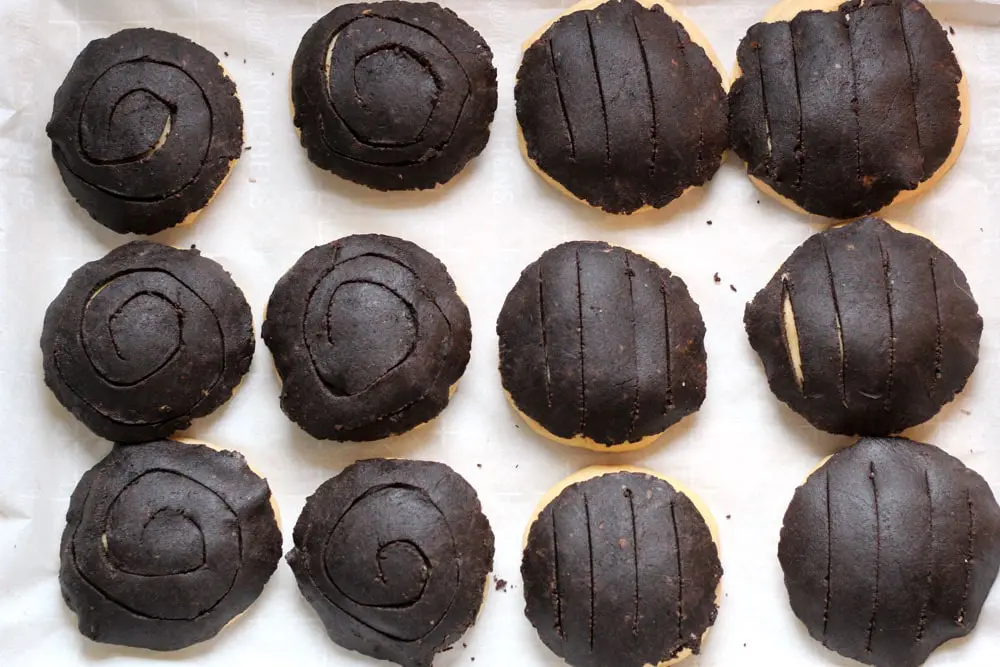
The first photo was my attempt at 12 equal pieces. This photo shows the adjustments I had to make to get the pieces equal in size. Each piece is 3 ounces.
If you don’t have a tortilla press, you can roll out the topping with a rolling pin, but it will take a bit more time. A tortilla press is inexpensive and so fun to have in the kitchen. I’ve linked to the one we have below. If you have kids in the house, they will also have a blast with this step in the recipe.
Chocolate Conchas are perfect with a cup of strong, black coffee in the morning, but they are also a wonderful afternoon snack.
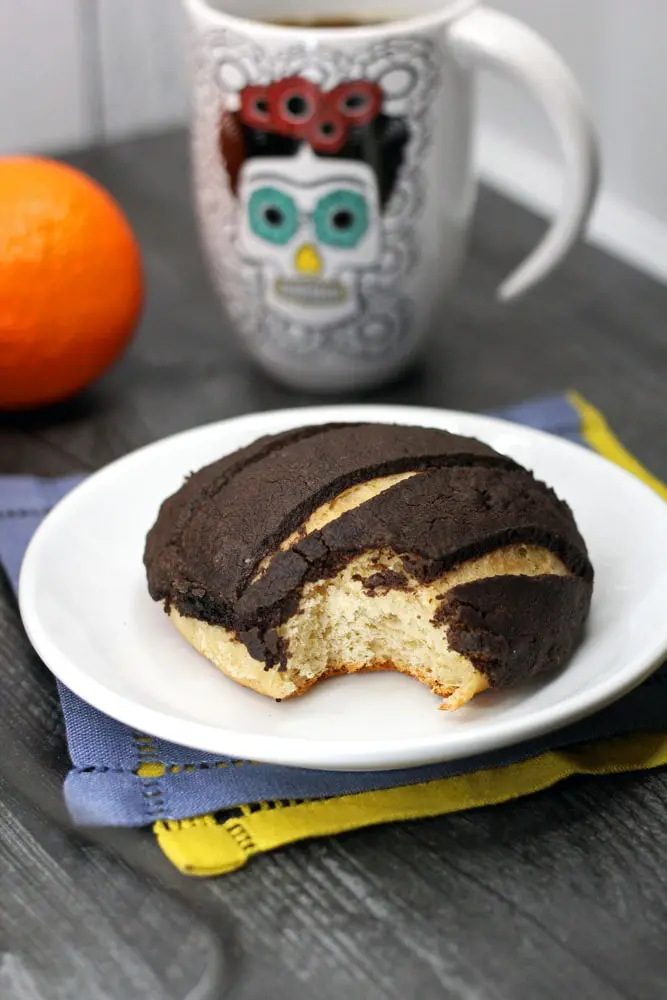
No matter what time of day I eat a Concha, it puts a smile on my face and takes me right back to my childhood. I hope you take the time to try this amazing Latin specialty, and please let me know if it makes you as happy as it makes me in the comments section below!
Helpful Utensils
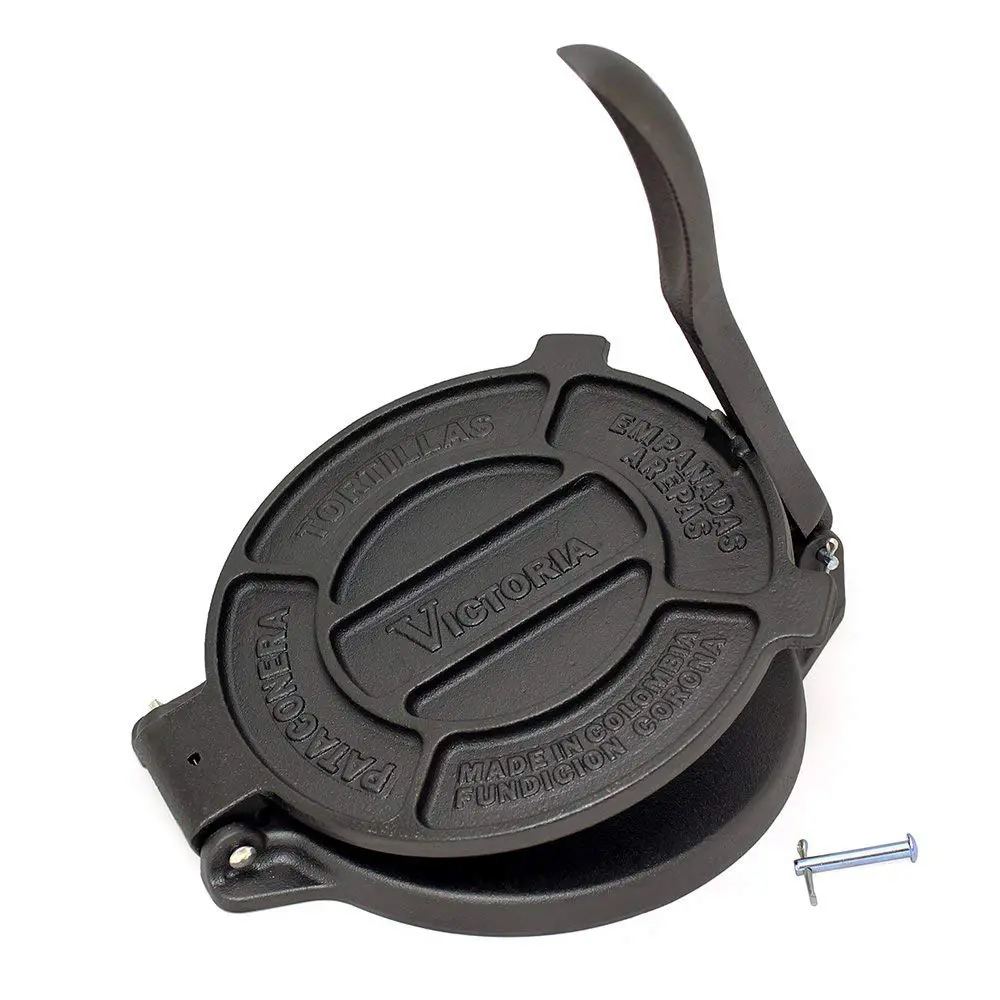
An essential if you want to get serious about your Mexican cooking and so fun to use!
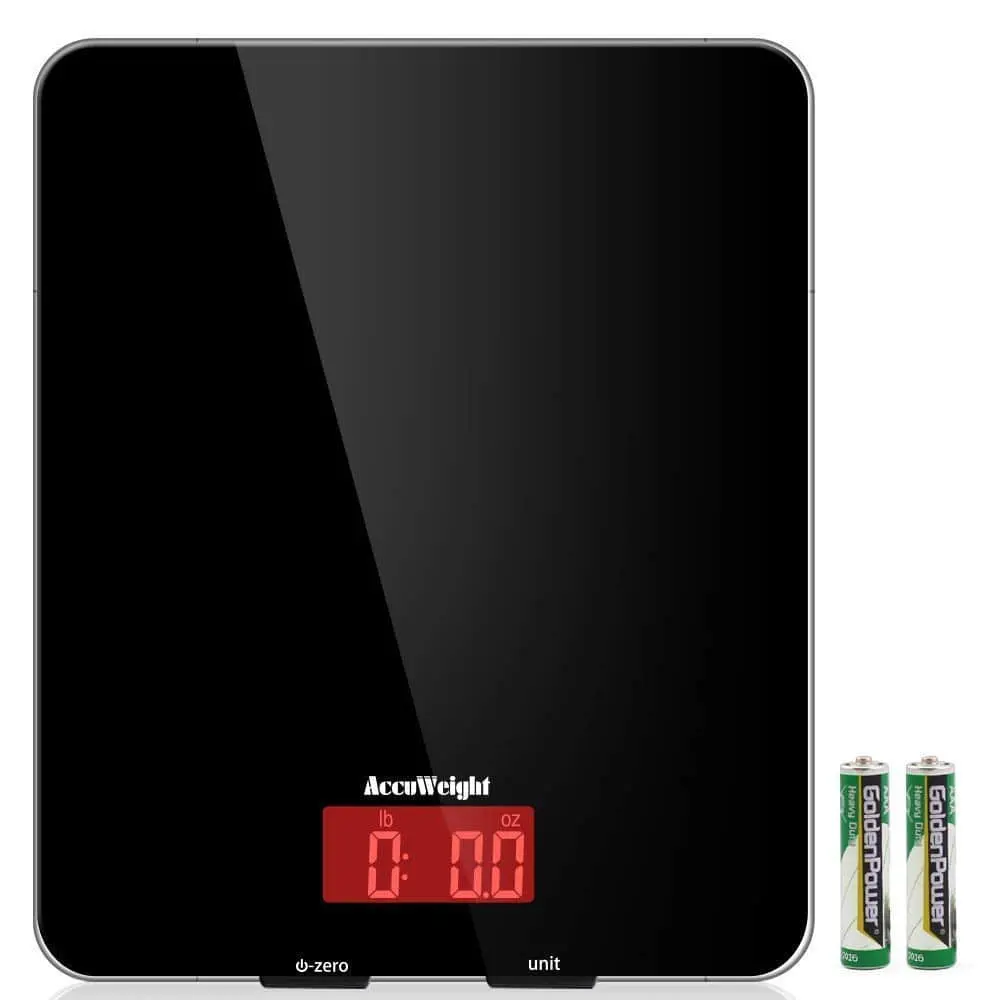
A great kitchen gadget for ensuring equal portions like in this recipe or for precise baking.
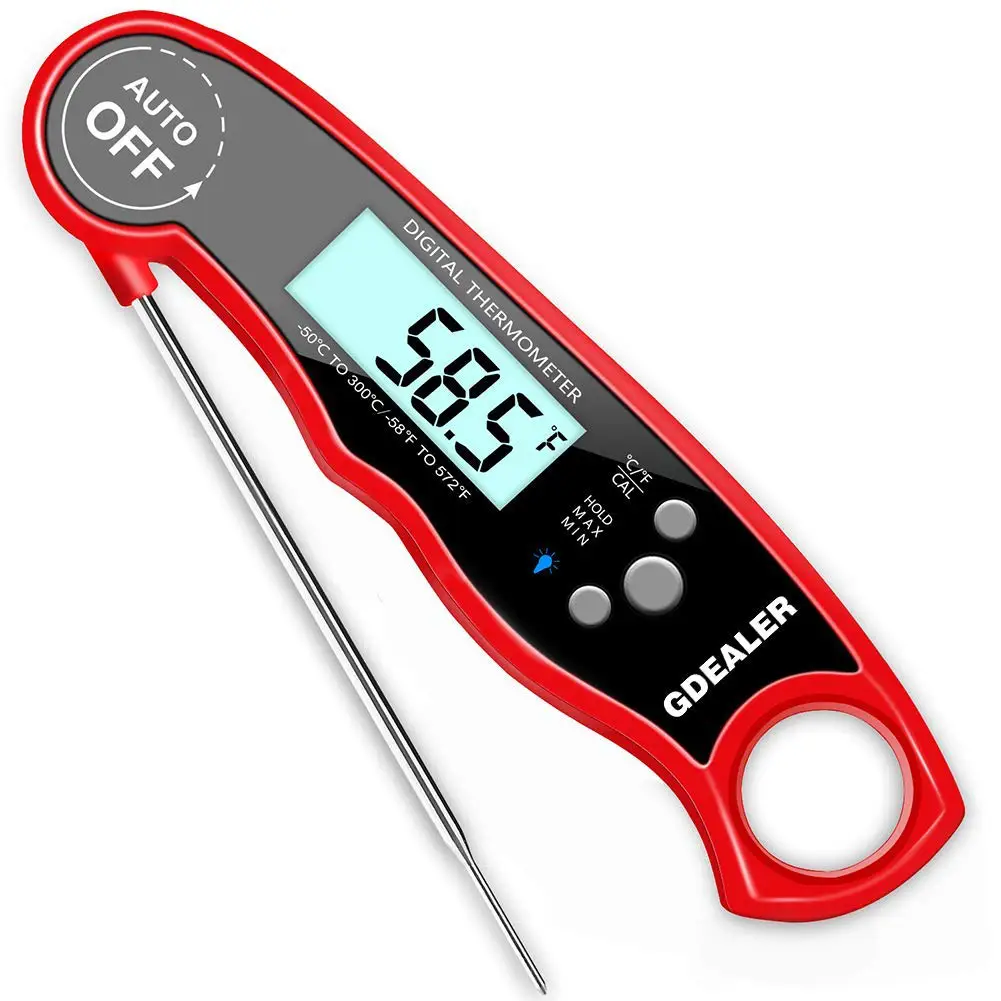
Take the guesswork out of temperatures and just buy a damn thermometer already.
Chocolate Conchas
Ingredients
Dough
- 3 & ⅔ C all purpose flour
- 1 package of instant yeast or 2.5 tsp
- 1 C milk*
- ⅓ C sugar
- 1 tsp salt
- 2 eggs beaten
- ½ C butter melted and cooled
- 1 tsp cinnamon
Topping
- ½ C butter room temperature
- ⅔ C white sugar
- 1 tsp orange zest
- ¾ C all purpose flour
- ¼ C cocoa powder
- 1 tsp vanilla extract
- ½ tsp salt
Instructions
- Place the milk in a microwave safe dish and heat the milk in the microwave to 120 degrees by heating in 15-second increments, checking the temperature after each round. It usually takes about 60 seconds.
- If the milk gets hotter than 135 degrees, allow it to cool before adding yeast as yeast can die above that temperature. If you don't have a thermometer, you can simply check by putting your finger in the milk; it should be very warm, but not uncomfortably hot. There is also a link to a great digital thermometer above.
- Whisk the yeast into the milk and allow it to dissolve. Set the mixture aside for 5-10 minutes or until the mix becomes a bit foamy on top. If nothing is happening, start over because your dough will likely never rise.
- Add the sugar, salt, beaten eggs, cinnamon, and melted butter to a stand mixer with a hook attachment and turn mixer on medium-low to combine. Turn off the mixer and add the yeast mixture. Turn the mixer back on low to combine.
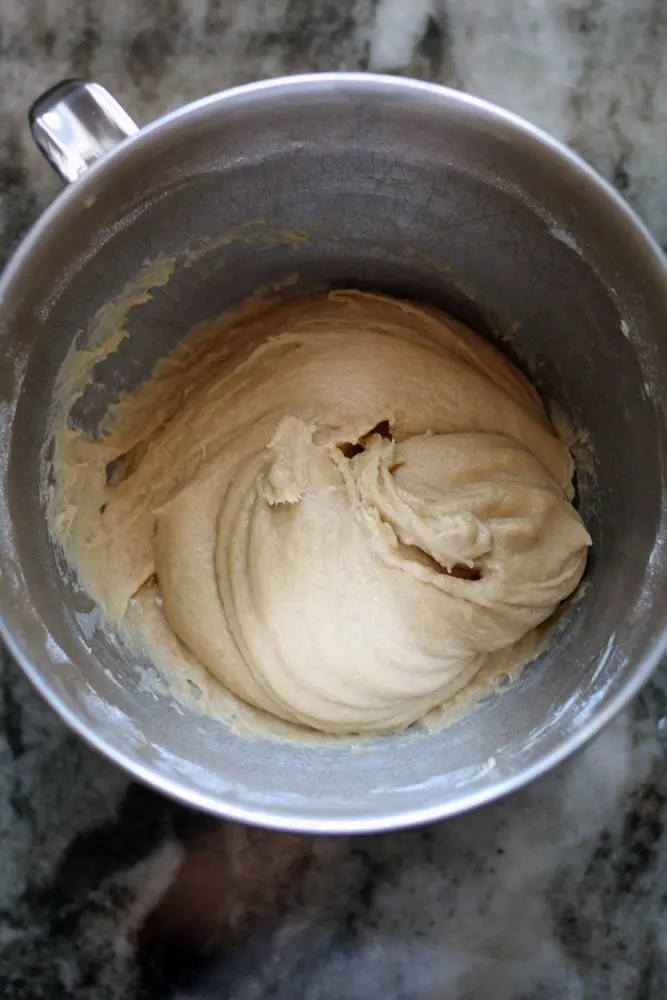
- Turn the mixer off and add 2.5 C flour, turn the mixer back on low, and mix until the dough starts to come together. Add the remaining flour in small batches until the dough is cohesive but still a bit sticky. Depending on the conditions, it can take as little as 3 cups and up to 4.
- Once the dough has come together, pour onto a well-floured work surface and knead the dough until it is no longer sticky, or you can let the mixer do the work by letting it work the dough on medium-low speed for 5 minutes.
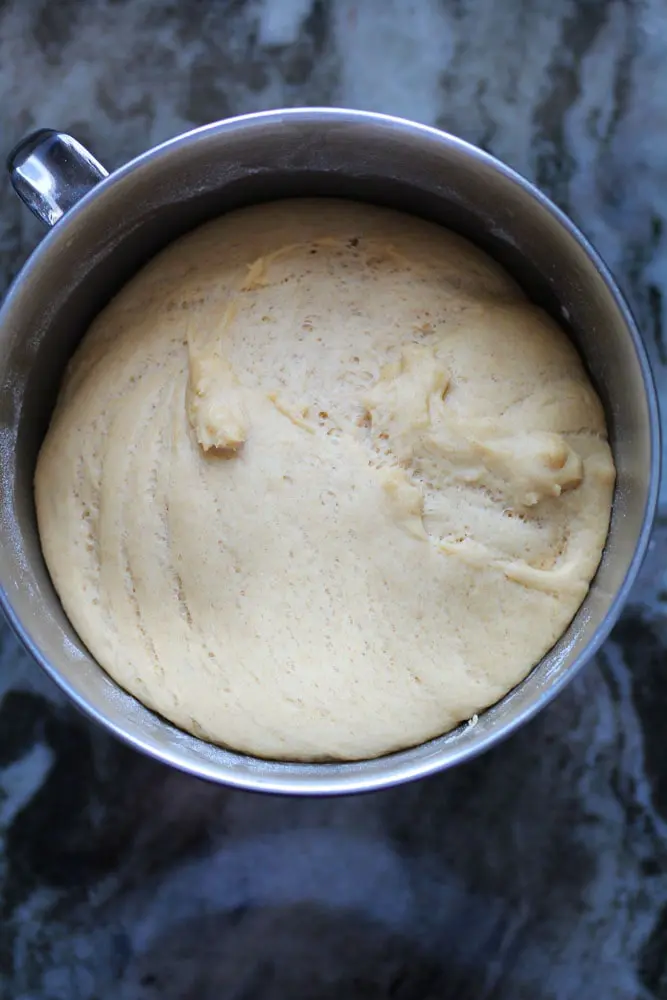
- Place the kneaded dough back into the mixer bowl or turn off the mixer and remove the hook attachment. Cover the bowl in a tea towel and place in a warm area to rise. I usually turn my oven on to 200 degrees and leave the bowl on top of my range. Let the dough rise for about 2 hours until it has more than doubled in size.
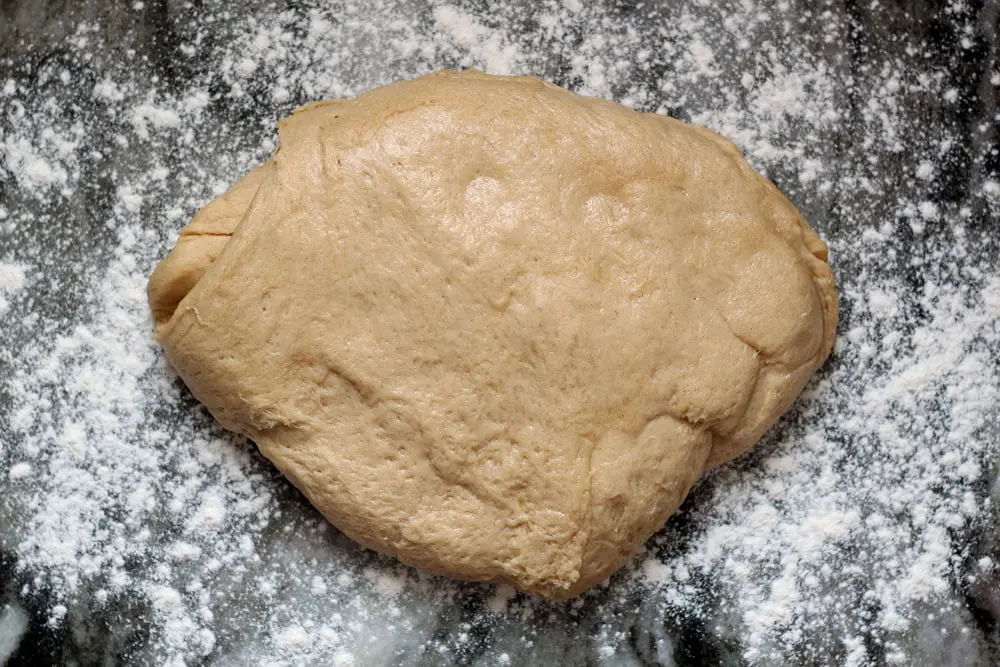
- Once risen, punch the dough down and use a spatula to release the dough from the bowl and place on a lightly floured work surface. Cut the dough into 12 equal pieces of about 3 ounces. I use a digital scale to make sure the dough balls are equal. I've included a link to purchase one above.
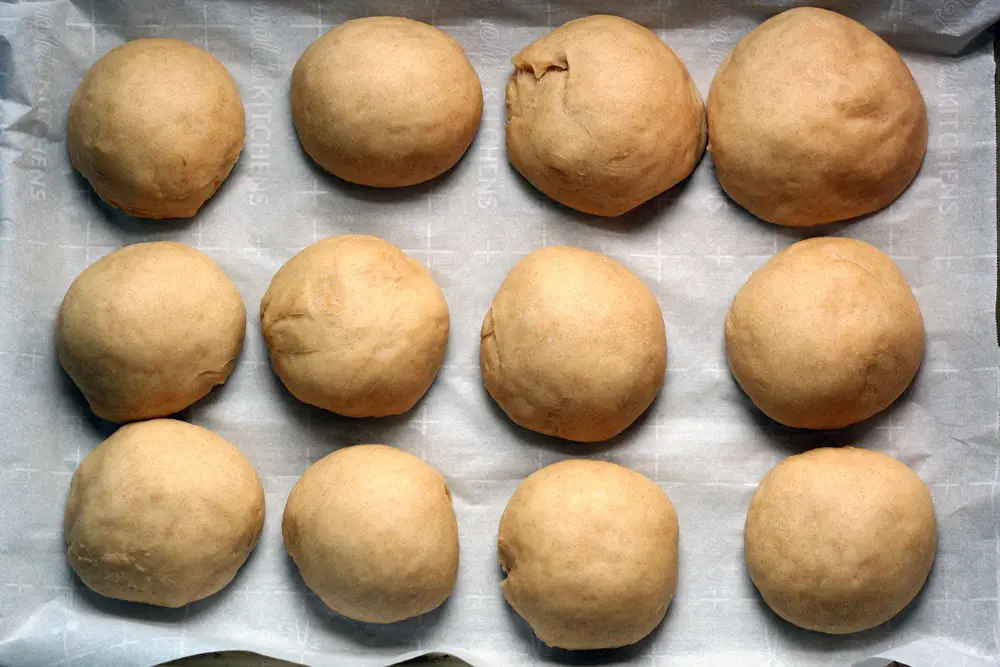
- Pinch the seams of each dough ball on the underneath side while rolling the ball into a sphere shape. Place on a baking sheet lined with parchment paper, leaving a couple of inches between each ball. Cover the dough balls once more with the tea towel and put back into a warm place for another 1-2 hours or until the balls have risen and are almost touching.
- While the dough is rising for the second time, prepare the topping. Mix the butter and sugar together on medium-high speed with an electric mixer until light and fluffy. Add the remaining ingredients and mix until combined.
- Once the dough balls have risen, separate the topping into 12 equal size portions. Use a tortilla press or rolling pin to flatten each ball into a circle a bit larger than the risen dough balls. Place 1 flattened topping on each of the dough balls.
- Use a sharp paring knife to make a swirl or striped design in the topping.
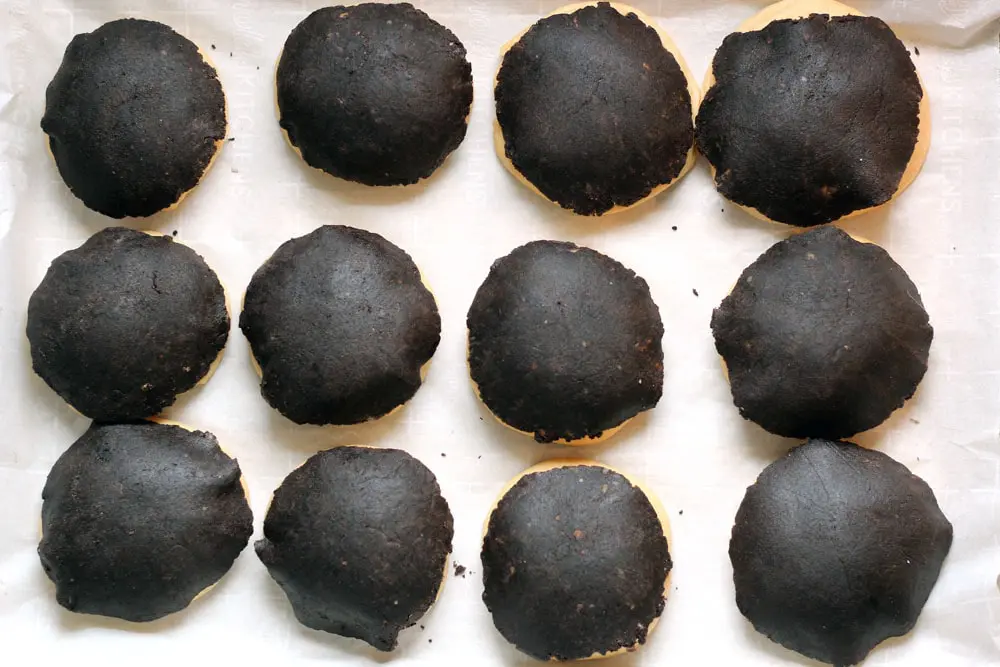
- Preheat the oven to 375 degrees. Bake the conchas for 20-25 minutes or until golden brown.
Notes
Latest posts by Hailey (see all)
- Sour Cream and Onion Skillet Biscuit - April 9, 2023
- Bacon Pesto Pasta - March 30, 2023
- Pimento Mac and Cheese - March 19, 2023
When do you add the yeast mixture?
Oh good heavens! I'm such a damn bone head sometimes. Thank you for catching that Susan! I have added that crucial step to the recipe. You should add the yeast to the butter and eggs mixture before starting to add the flour.
[…] Chocolate Conchas […]
[…] Chocolate Conchas […]
[…] Chocolate Conchas […]