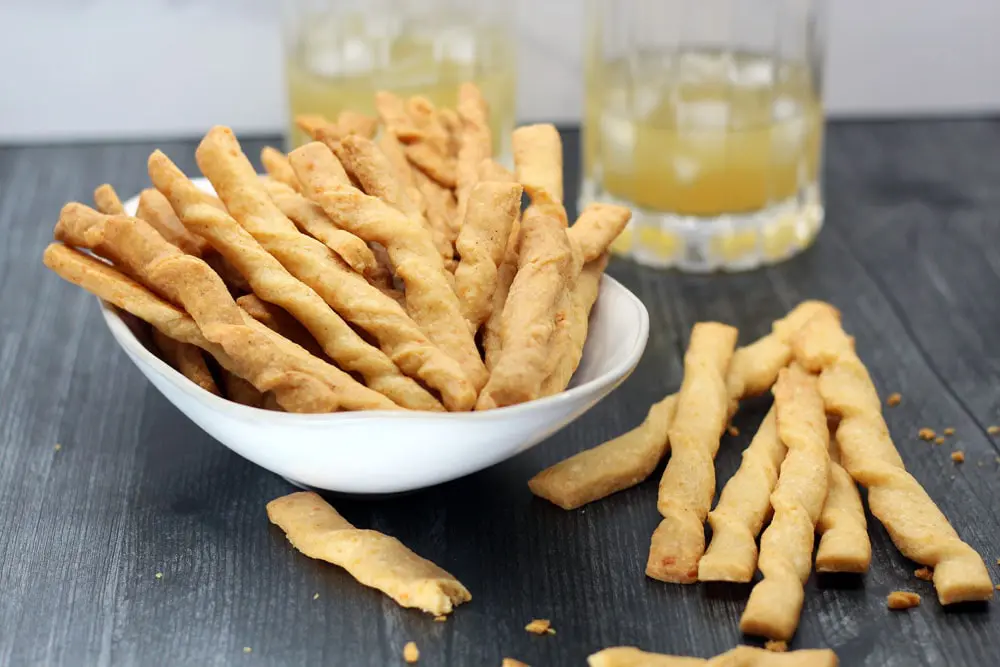
Gouda Cheese Straws are light, crisp, caramelized and cheesy. Honestly, what else could you possibly ask for in a snack?! Cheese is the star in this classic appetizer. Just a little flour and butter and a touch a cayenne and Worcestershire is all you need to change cheese into crunchy, snackable form.
If you grew up in the South, you’ve probably had a cheese straw before. If not, you’ve probably had a Cheez-It which sort of, just sort of, gives you an idea of the flavor of a cheese straw. But if you’ve never had a homemade version of a cheese straw, you are missing out BIG TIME!
Cheese straws are as addictive as all the weird, processed cheesy shit we all love…think Cheetos, Cheez-Its, etc.
I can’t lie. I f*cking love all these diabetes-inducing snacks, but I would never serve them to party guests. Cheese straws are a different story.
Homemade Gouda Cheese Straws have the texture of a perfect buttery pie crust. They have a snap when you break them, but the straws crumble apart and melt in your mouth from all the butter in the recipe.
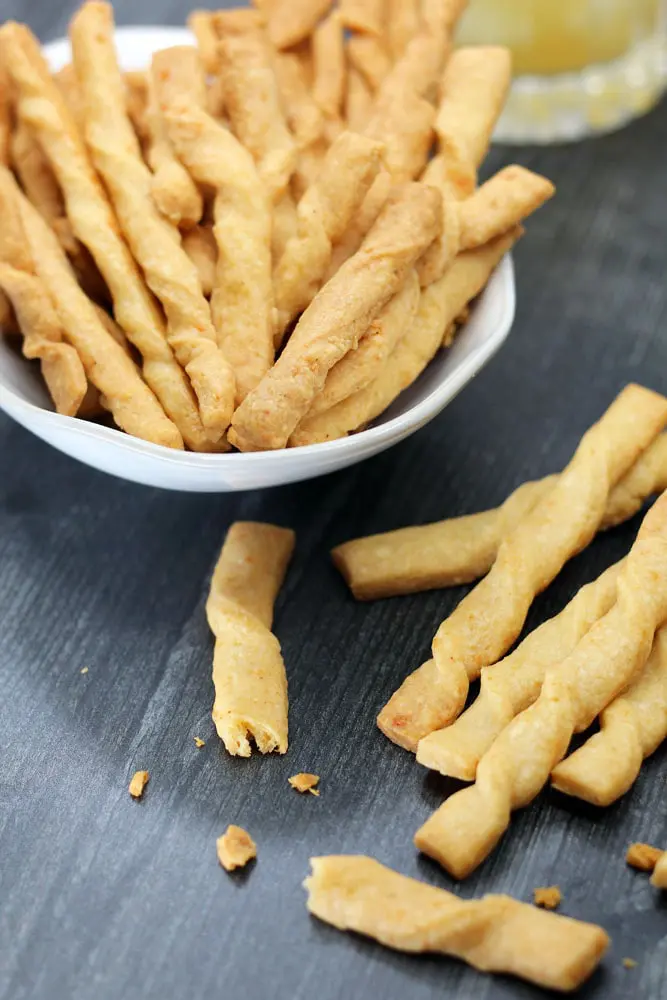
The gouda cheese is applewood smoked so you get lovely smoky notes in the cheese straws. I use half gouda and half extra sharp cheddar in my recipe because I don’t think you can have a proper cheese straw without some cheddar. I also have tried making cheese straws without cheddar, and I think they lack the tangy bite of the classic.
Making the dough for the cheese straws is so easy especially if you have a food processor. Check out the link below if you’re interested in buying one. They last for decades and the uses are endless.
To make the dough you simply grate the cheese and then mix all the ingredients until the dough comes together.
The more labor-intensive part of this recipe is cutting and twisting each cheese straw. The dough is quite forgiving so rolling it out isn’t bad.
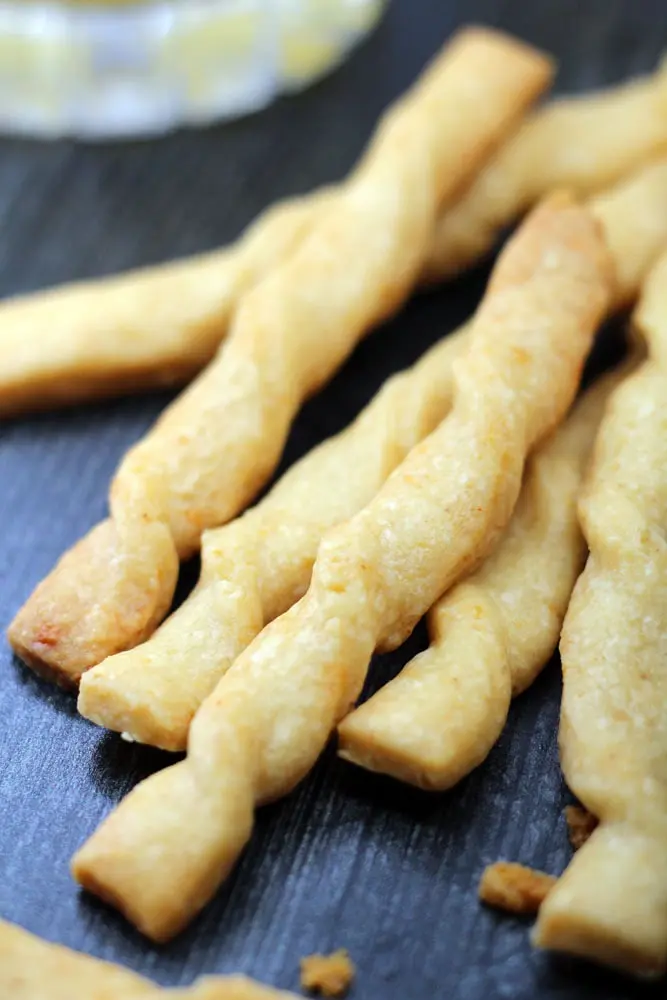
The task of twirling each strip of dough to create a corkscrew shape is somewhat fiddly or meticulous, but it’s a great cooking project if you like that sort of thing. I find it relaxing to solely focus my mind on the task at hand, but if you’re thinking f*ck that, you can also bake them as flat crackers. They just may not be quite as festive.
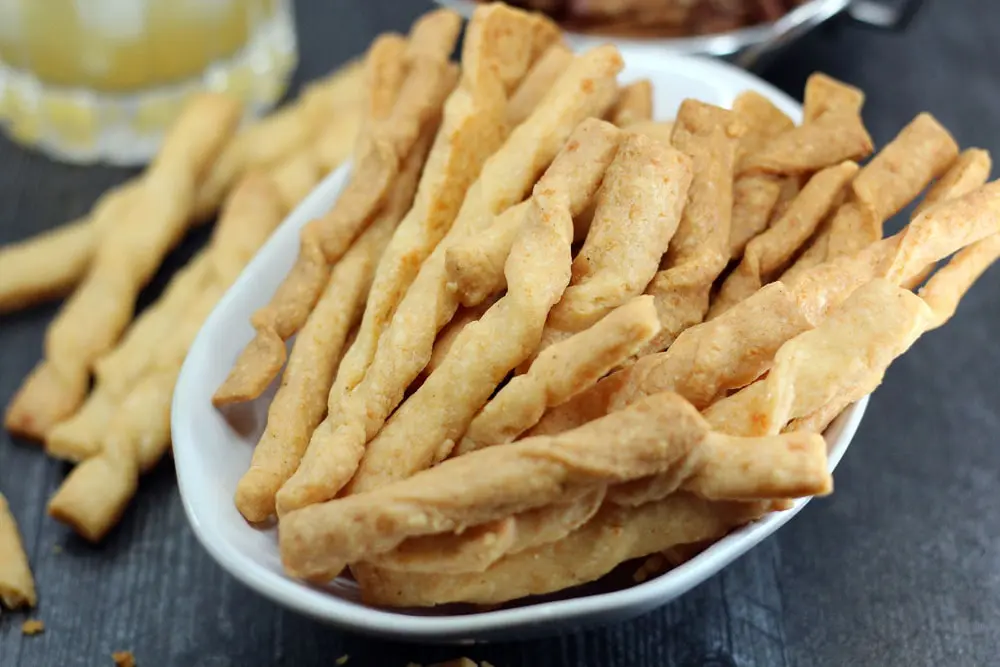
The light, crispy texture and cheesy, salty flavor of cheese straws make them the perfect party appetizer. Whether you’re having a martini or a cold beer, these cheese straws are just the right snack. Let me know what you think of them in the comments section below!
Helpful Utensils
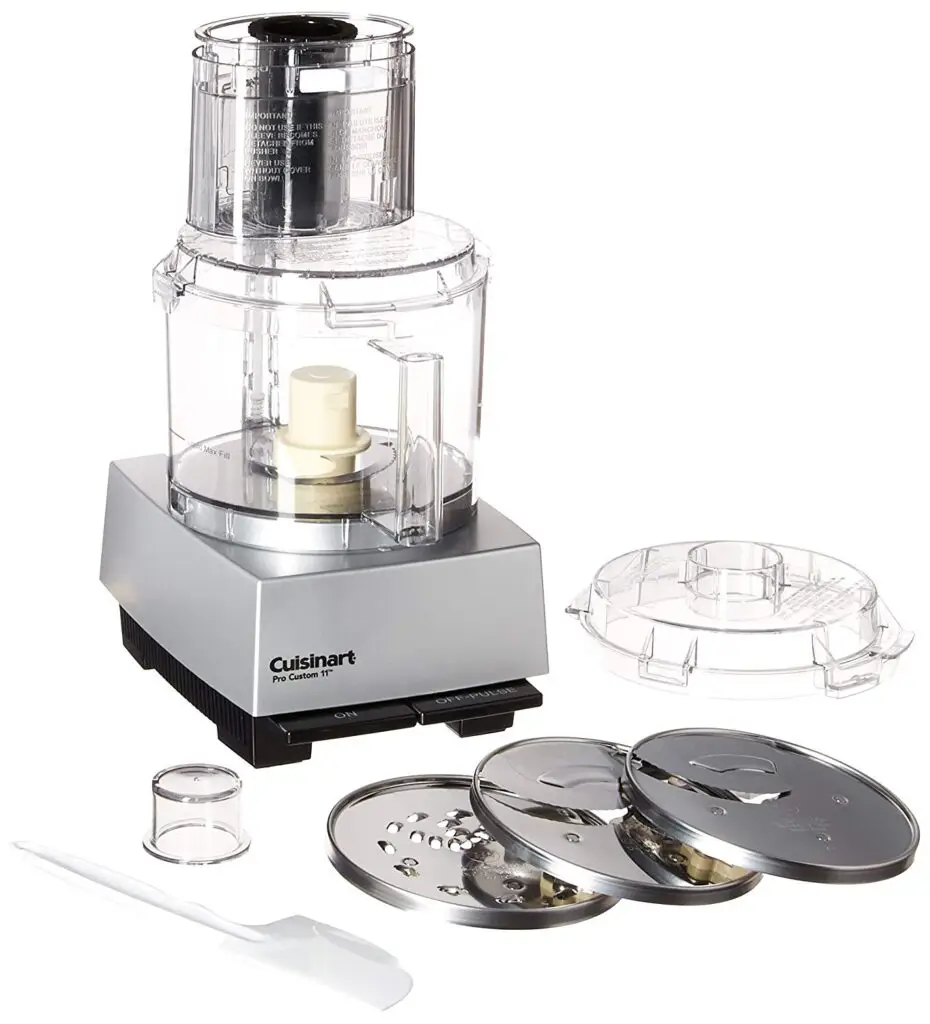
The uses for a food processor are endless. In this recipe, it grated the cheese and made the pastry dough. It's worth every penny.
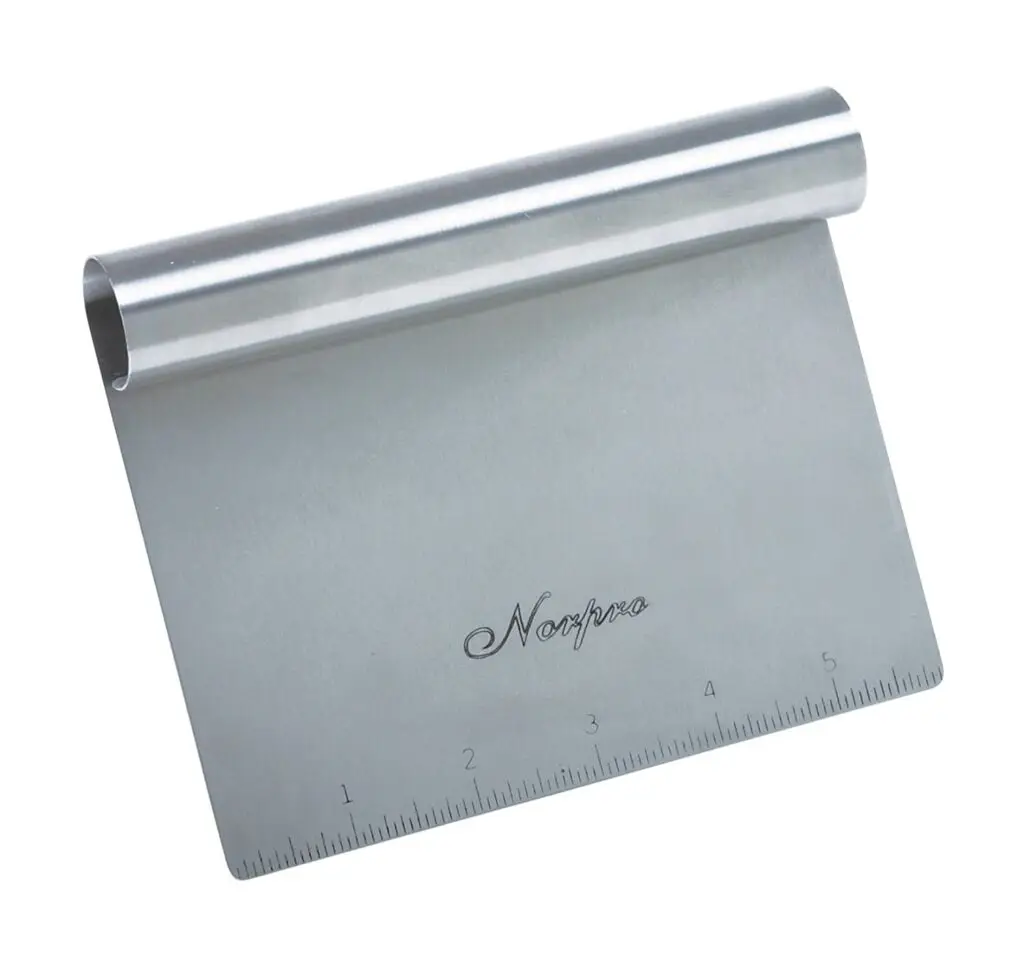
A bench scraper is absolutely essential to working with any sort of pastry. It makes delicate work a breeze.
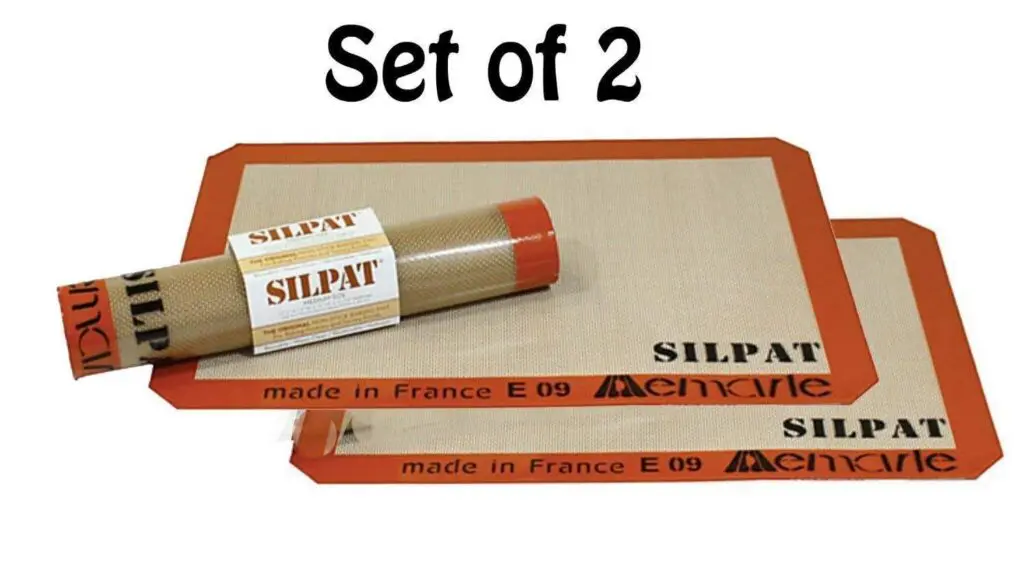
The ultimate nonstick surface and they are dishwasher-safe for easy cleanup.
Gouda Cheese Straws
Ingredients
- 10 Tb salted butter room temperature
- ¼ lb smoked gouda cheese grated
- ¼ lb extra sharp cheddar grated
- 1 ¾ C all purpose flour
- 1 tsp Worcestershire sauce
- ½ tsp cayenne optional
Instructions
- Grate the cheese. Combine with remaining ingredients in a food processor.*
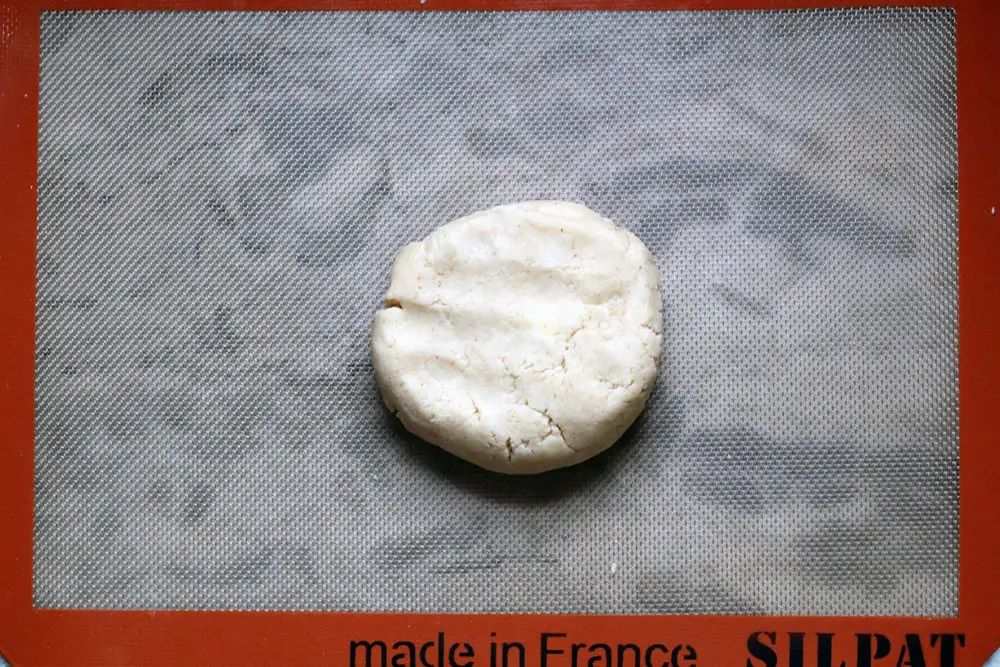
- Once the dough is smooth, split the dough in two and place half on a Sil-Pat or a sheet of parchment paper.**
- Place the other half of dough into the fridge while you work the first half.
- I like to roll out on a nonstick surface so I don't have to add more flour to the dough. It can become too crumbly if you add too much flour.
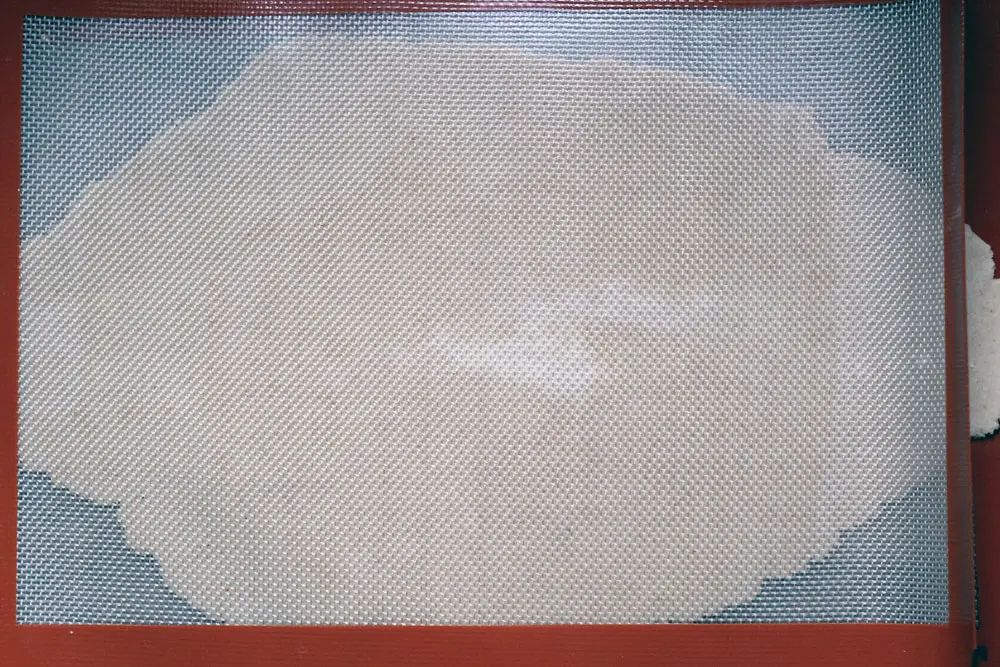
- Bring the dough together into a disc shape. Place another Sil-Pat or sheet of parchment paper on top of the dough and roll out to about ⅛-inch thickness. Trim off the edges to give a straight edge.
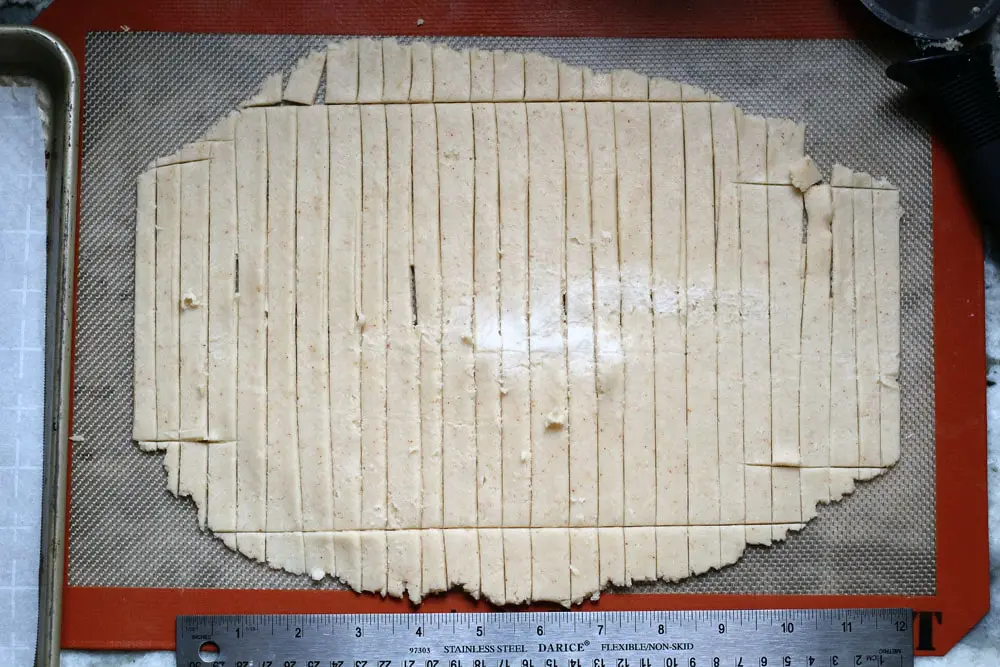
- Cut the dough into ½-inch strips. A ruler is quite handy for this task. I like my cheese straws anywhere between 4-6 inches long, but I really don't think it has to be exact. In fact, I love the look of all the different shapes and sizes so don't lose your mind trying for even strips.
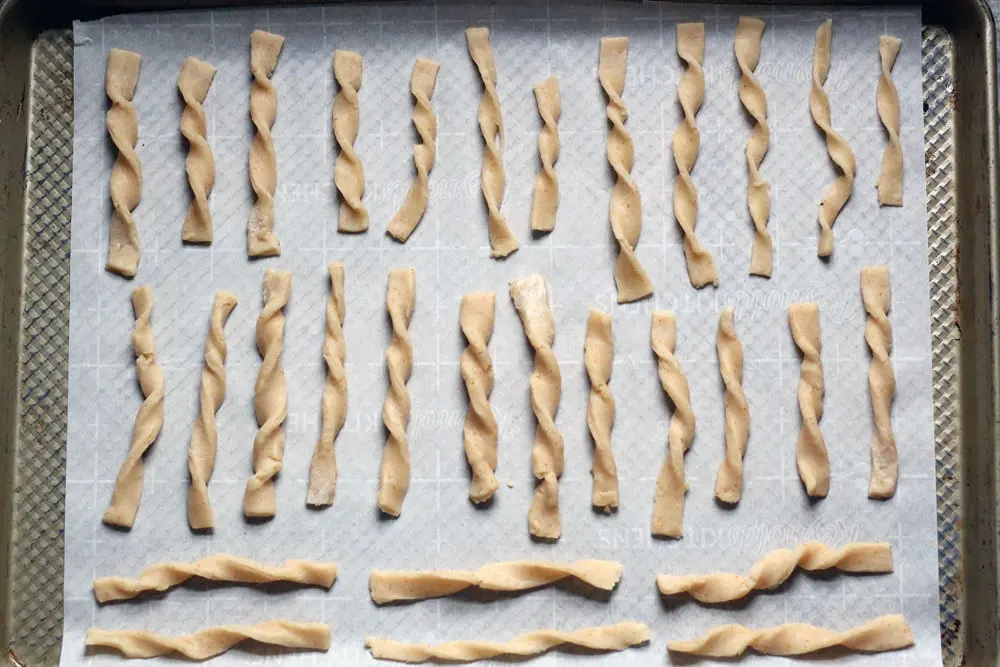
- Once the dough has been cut into strips. Take each one and rotate it to form a corkscrew shape. Do this gently or you can tear the dough. If you do, no worries, just pinch it back together. This is a time-consuming process but so worth it for the lovely brown ridges the corkscrew shape provides.
- Preheat the oven to 325 degrees. Prepare a baking sheet with parchment paper and place the cheese straws on the baking sheet. You can put them close together since the straws don't contain any leavening ingredients.
- Bake for 25 minutes or until golden brown. Allow to cool completely.
Notes
Latest posts by Hailey (see all)
- Sour Cream and Onion Skillet Biscuit - April 9, 2023
- Bacon Pesto Pasta - March 30, 2023
- Pimento Mac and Cheese - March 19, 2023
